Note: One recommends reading the diary first and then linking to workshop notes to maintain the continuity of the theme...
Lid 25nm torque.
See Other Related Information relating to this project: Purchase, Diary
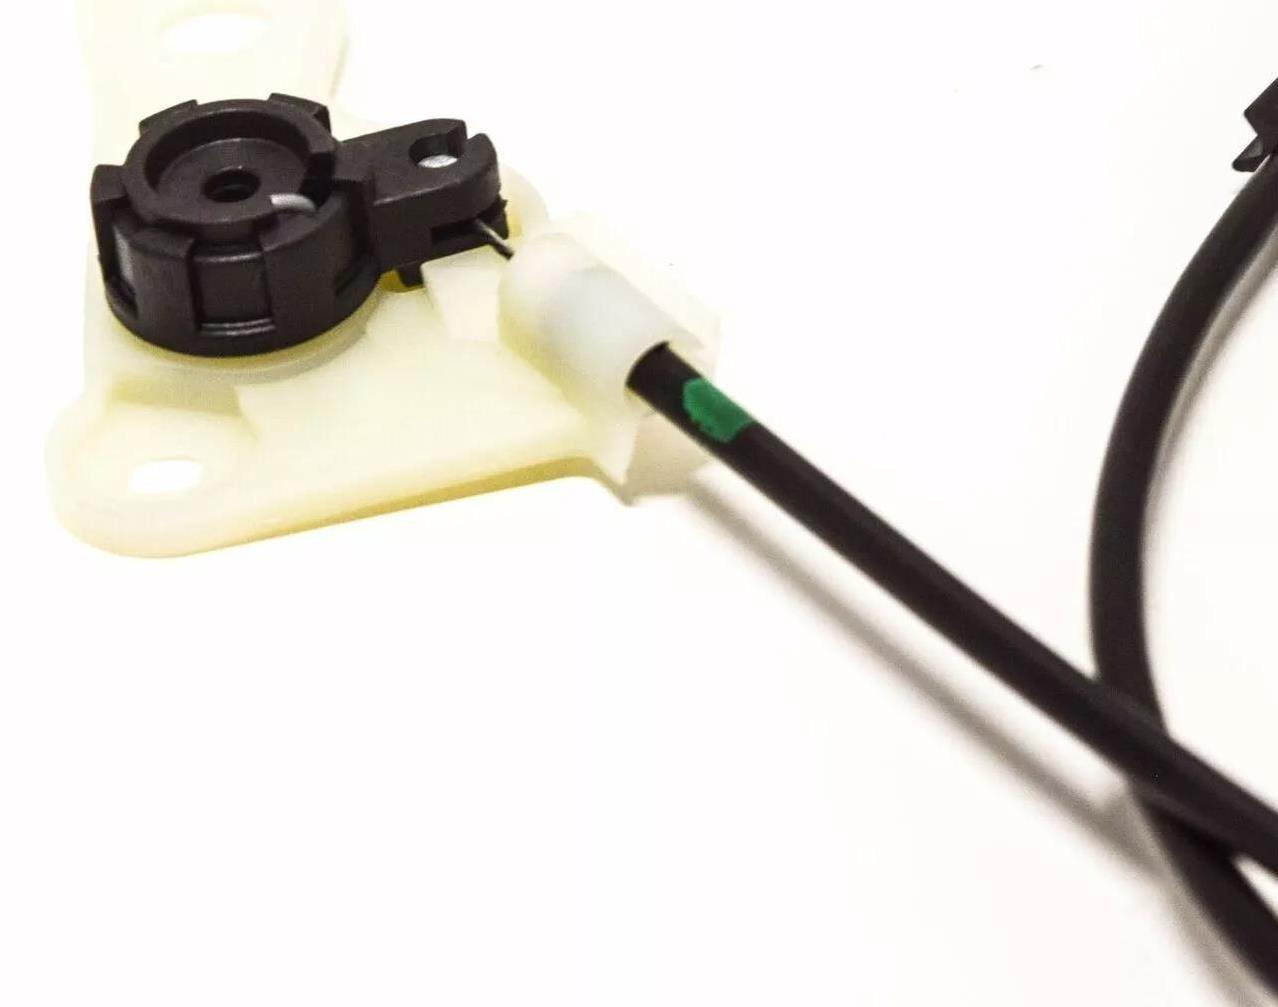
To Engine Compartment
Firewall Gromet
Lever Mechanism- Interior
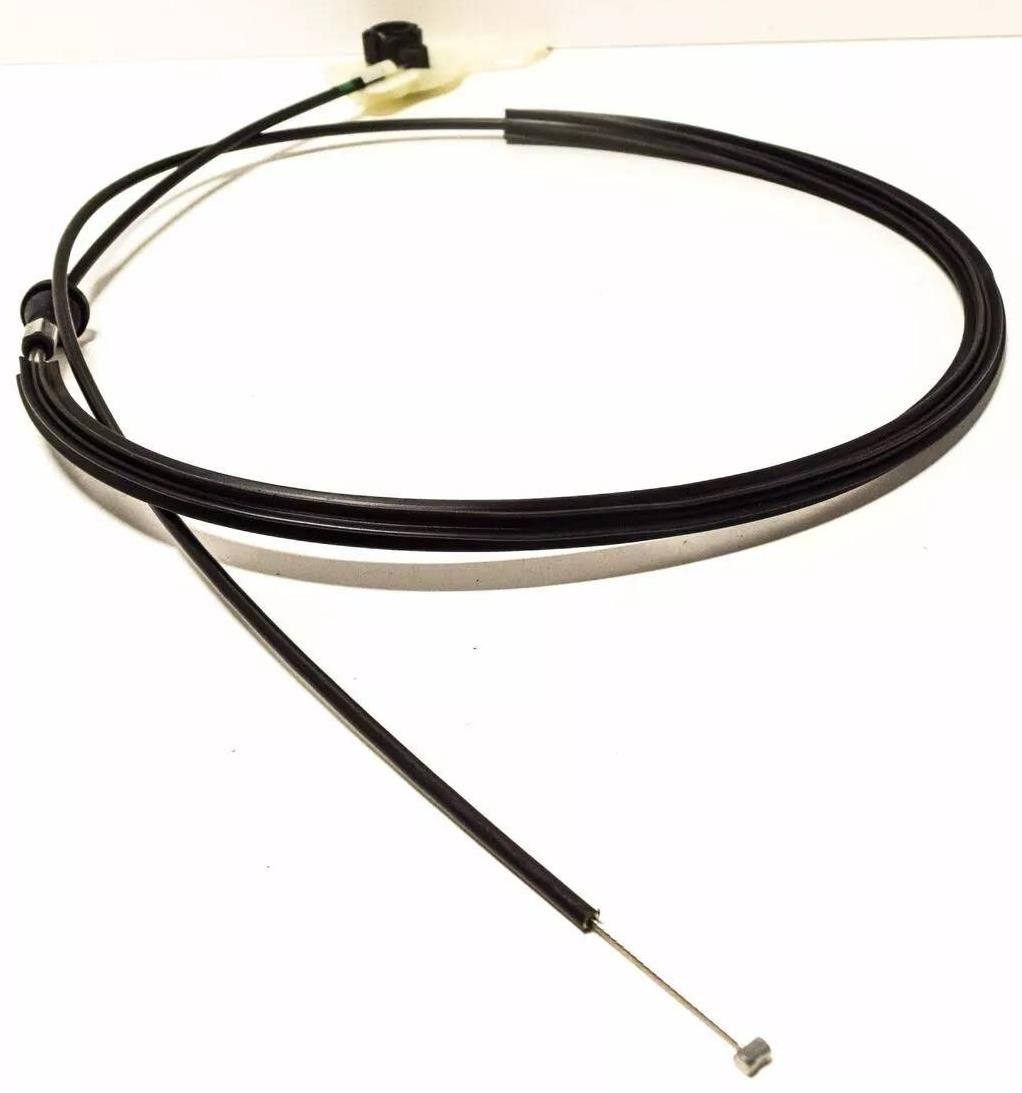
Z3 Bonnet Cable
1
Actual
LHD
LHD
LHD
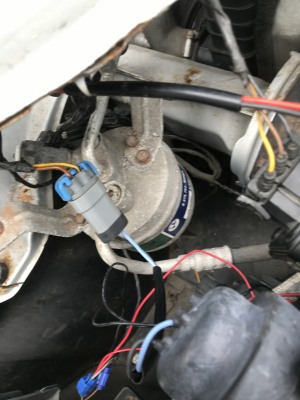
Drivers Side Horn is under the AC Dryer.
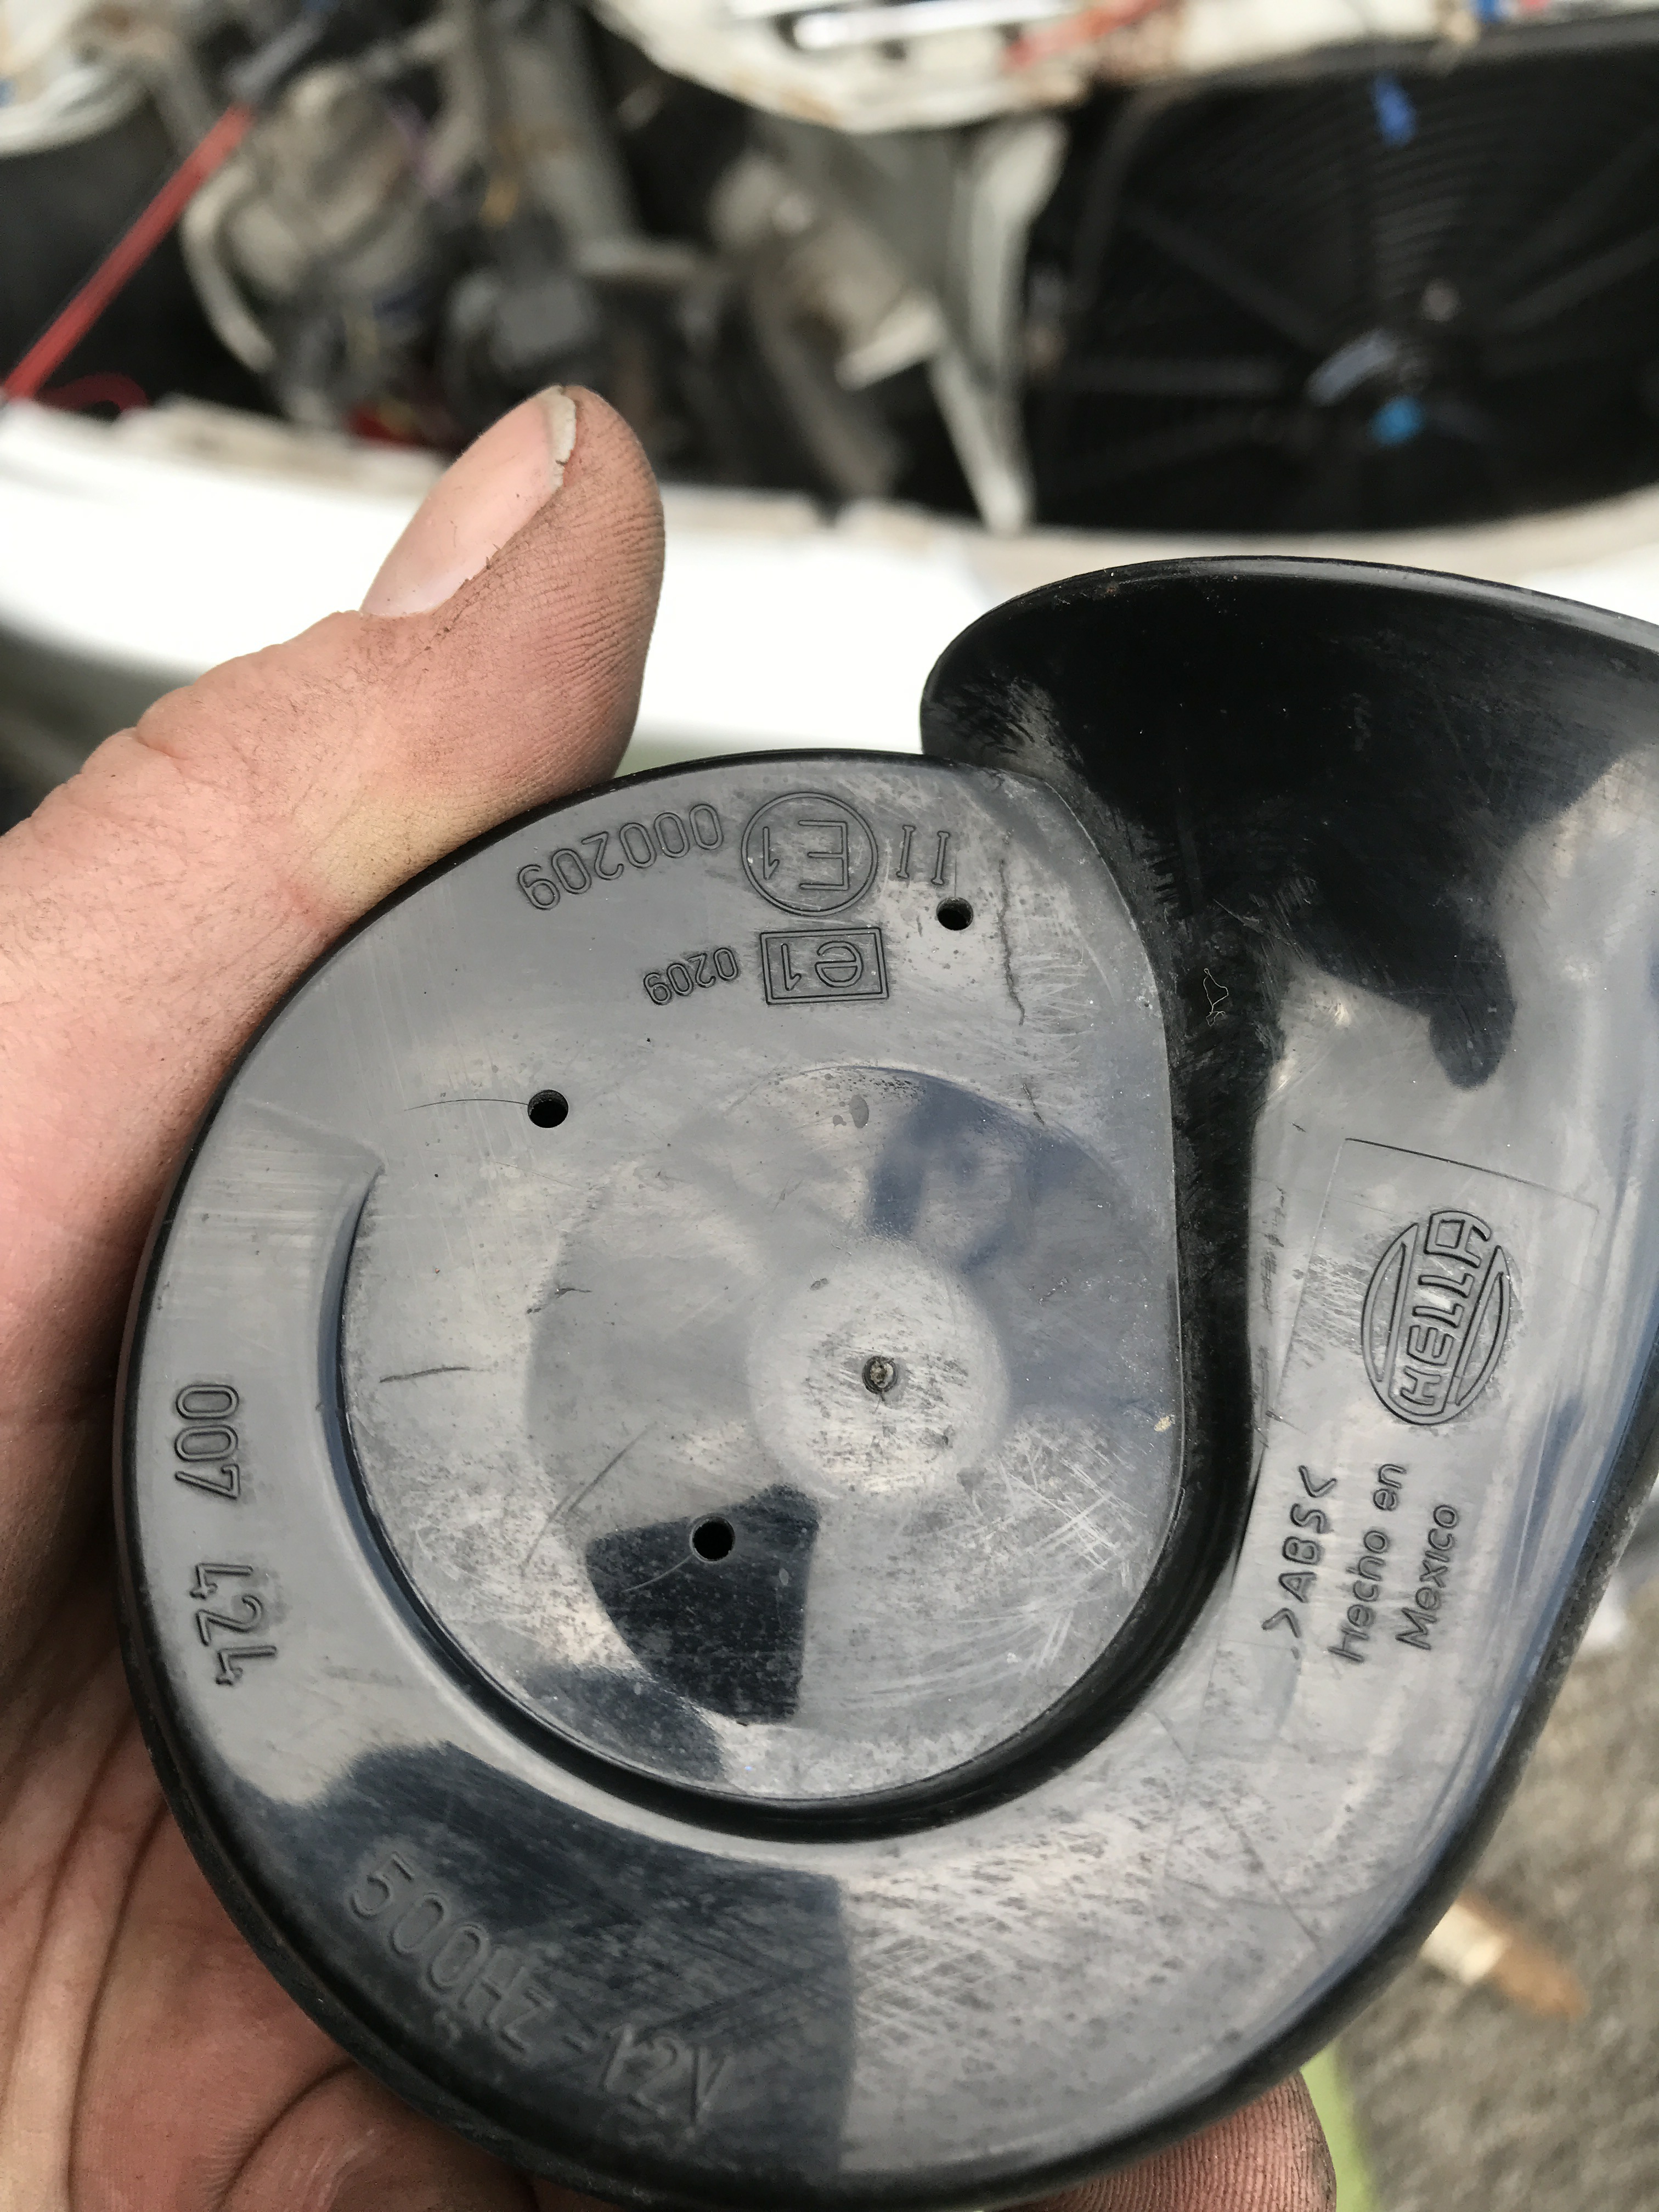
Today 25.05.24 I notice the horn on the passenger side, view with the headlights out and down into the well, never noticed them before, I was under the assumption, they were behind the plastic wheel arches, for some reason. This unit looked crusty and I had found my new ones within the garage.
The horns were connected to the main loom carrying the wiring for the lights and they had the factory connections. I am not one for destroying factory connectors if possible and decided to just splice into the wires without breaking them and using a couple of spade connectors:
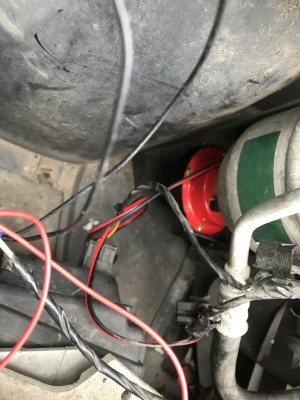
With a good wire brushing of the bracket and grease coating and a new nut it was fitted with no problem. It was on to the next one on the driver's side.
Old Horns removed
Passenger side Horn fitted
Held on by 0ne 8mm Nut this was corroded on
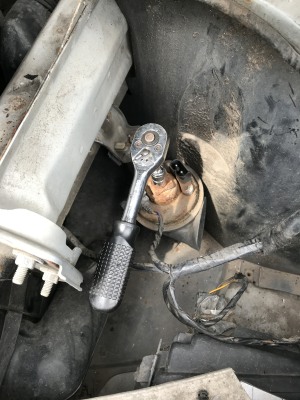
The Driver's side horn was more awkward as it was situated under the AC Dryer. The Dryer will have to be unbolted these were held on by two10mm bolts. The bolts came free easily and then the Dryer can be lifted slightly, being careful not to damage the AC pipes, just enough to get the small ratchet onto the Horn 8mm nut.
Actual
Actual
Actual
Actual
Actual
Drivers Side Horn is under the AC Dryer Fitted.
Actual
This was a very easy and straight forward replacement, followed by a test, they both worked well.