Note: One recommends reading the diary first and then linking to workshop notes to maintain the continuity of the theme...
Battery Cut-Off D
Fuel Cut-Off E
Disintegrated Oil Filter >>>
with magnet
Lid 25nm torque.
Crush Washer
See Other Related Information relating to this project: Purchase, Diary
To Engine Compartment
Firewall Gromet
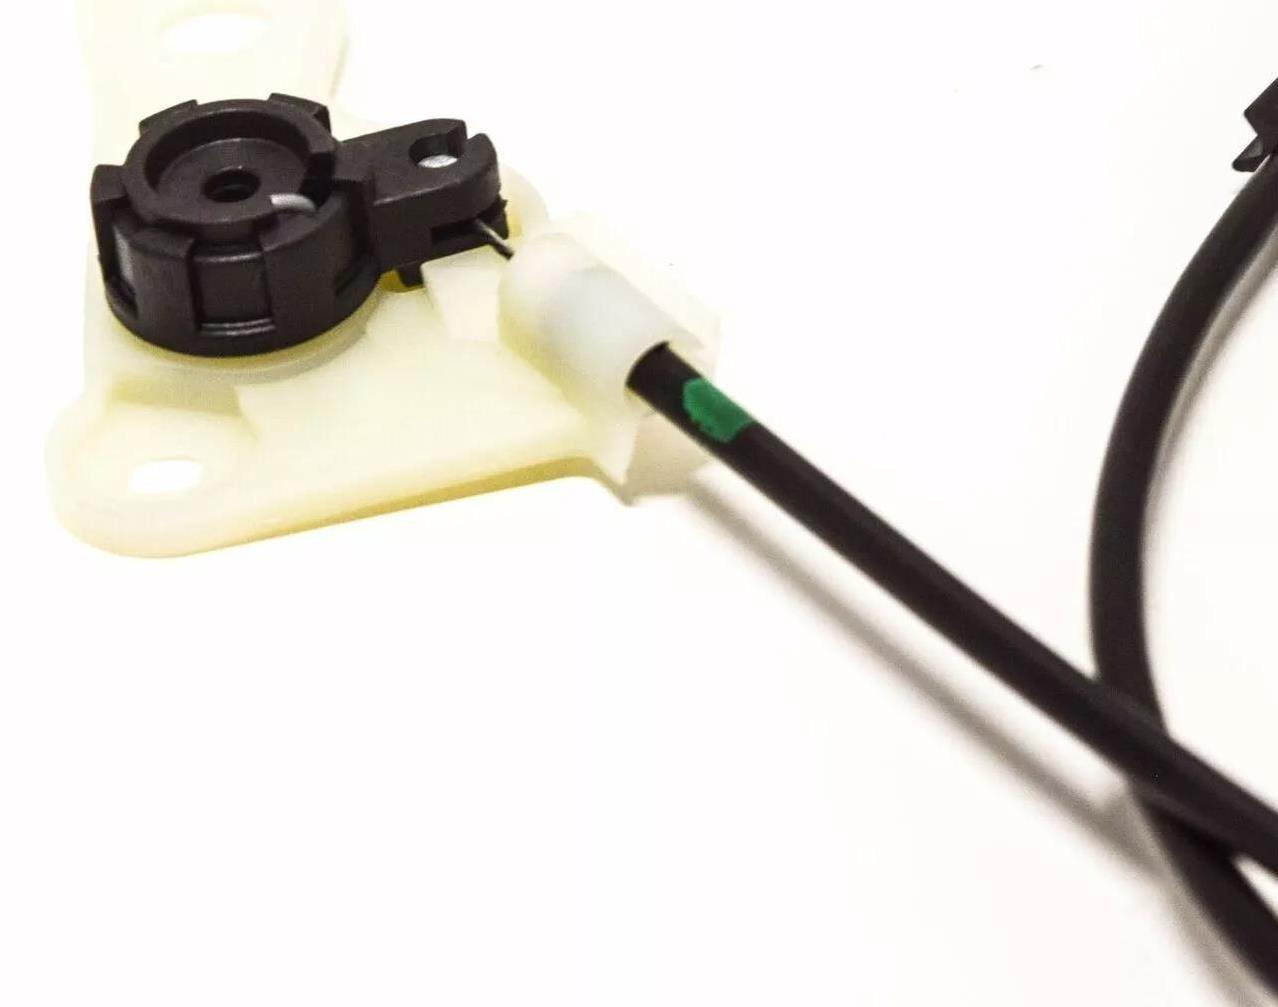
Lever Mechanism- Interior
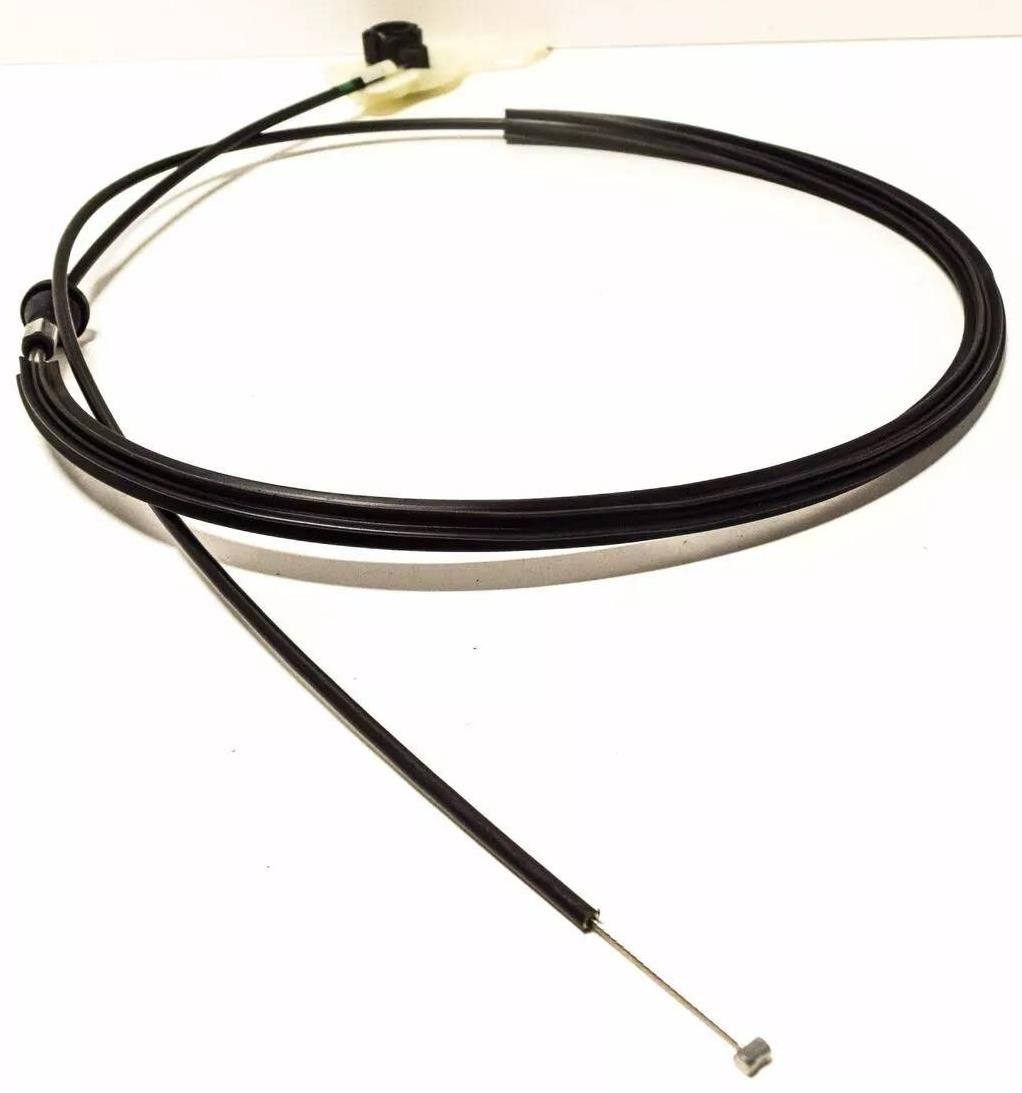
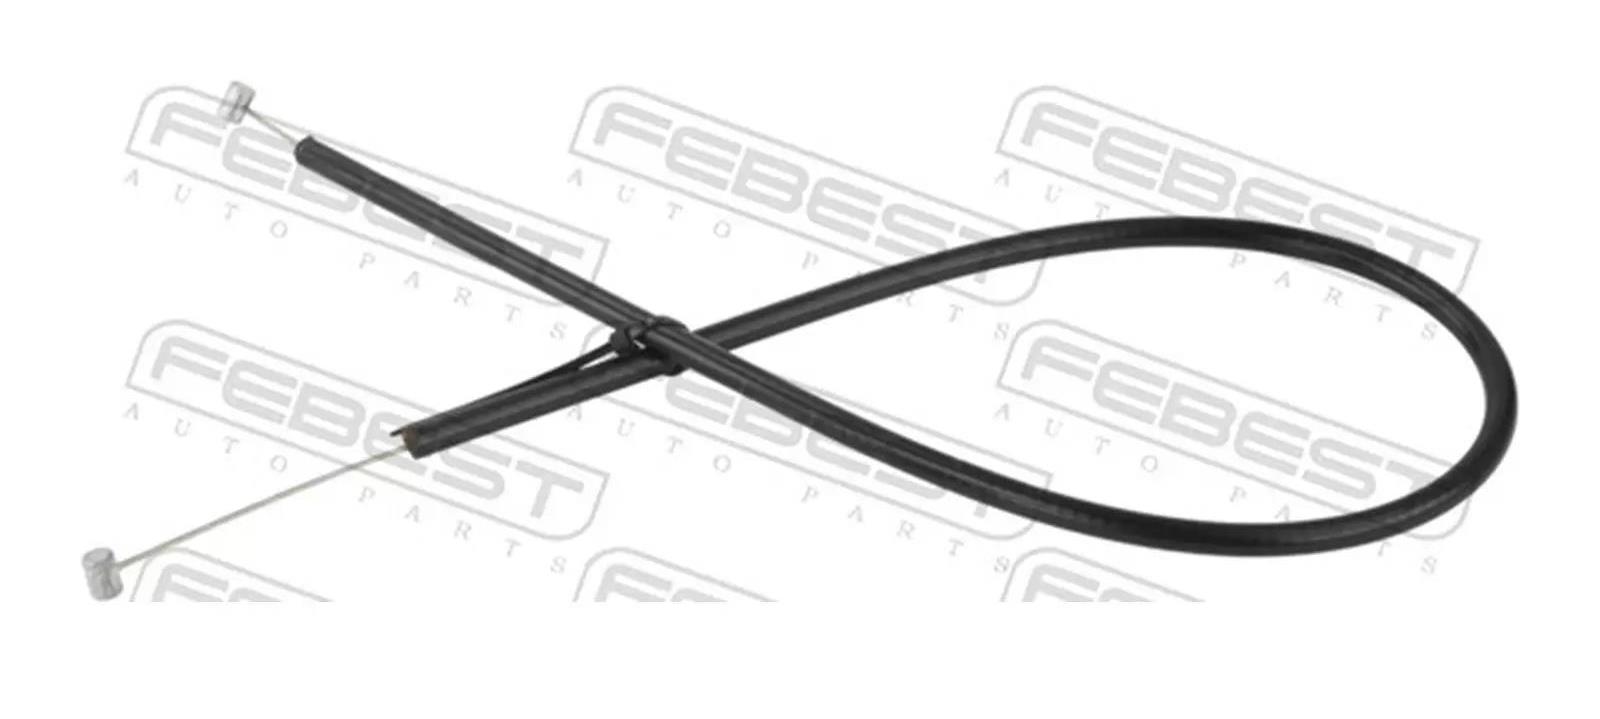
Z3 Bonnet Cable
To Engine Compartment
Firewall Gromet
Z3 Bonnet Cable
Lever Mechanism- Interior
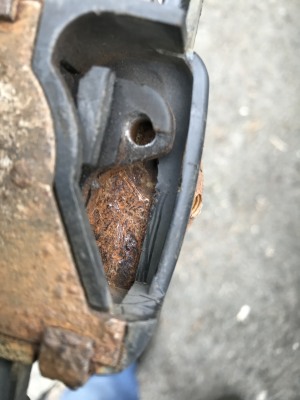
The Bonnet/Hood Cable (Bowden Cable), Ferrel (Lead Retainer) had broken off at the Lever Mechanism end within the interior of the car and today 23.05.24 I have decided to address this issue.
Note: this is the longer cable of two possible cables on the BMW Z3.
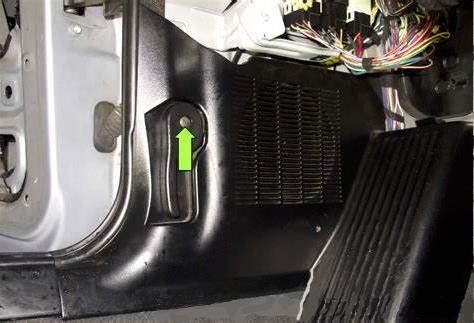
This is what I am dealing with today, the ferrel has broken off the end of the cable within the interior, situated on the right lower footwell. This piece of wire fits into the catch or bonnet release handle.
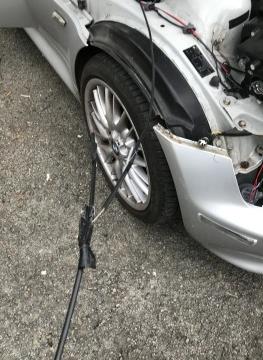
The other end of the cable is situated under the bonnet/hood to the right or off-side of the vehicle.
I was fortunate of 'sorts', to have this break or cable failure where there was good access, if it had broken from under the bonnet/hood, then my job would have most likely taken a few more hours, as one needs to have access to under the bonnet/hood.
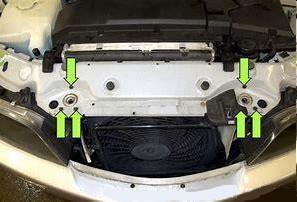
For this, I would have most likely have had to force open the bonnet/hood from outside, via the breaking of a couple of clips on the kidney shaped grill or popping one of clips off the headlights as to reach in and manoeuvre to trigger the catch or have access at least, to pulling the wire. Either way this method can prove expensive.
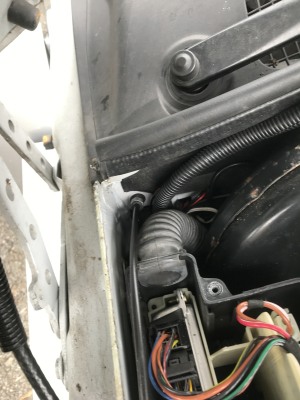
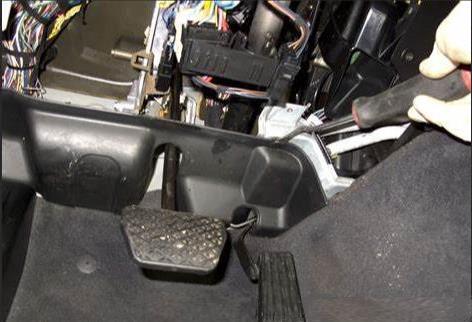
My first task was to undo the screw/bolts on the driver's side (UK) dash and to continue removing the plastic footwell panel and trim. This exposed the entry/exit area grommet of the cable. (inside, top right corner).
Since this cable was scrap, I decided to cut the wire at the catch end for easier access and to use it to fish the new cable through.
Dash & Footwell Panel Removed
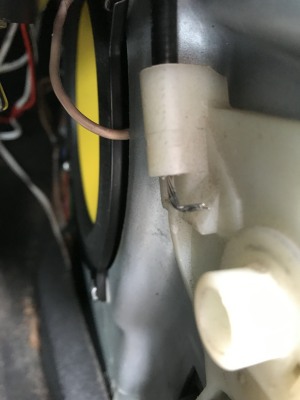
Under Bonnet Catch (R)
Bonnet Cable Grommet
UK - Driver's Side
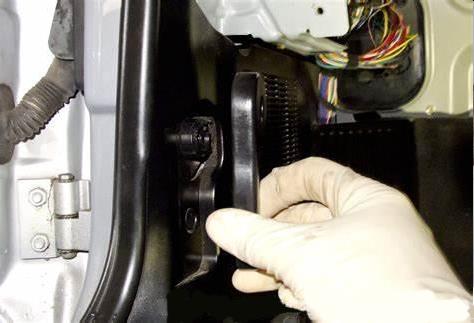
To get better access to the cable, one will need to remove the lid and rubber trim edge of the Relay and Wiring Hub Box, (Note: The Main Fusebox and Relays are on the Passenger side adjacent. This other box in question, can be seen on the driver's side).
Further Relay and Wiring Hub Box, Unscrew Lid. x6 screws
Do NOT pull the old cable out just yet. To feed the new cable in position from inside the vehicle, one will need to use electrical tape or equivalent to join the two cables together at the Ferrel end of the new cable to the old cut end. Make sure the old grommet is free of the firewall.
The wire can then be fished through the firewall into the engine compartment.
Make sure the NEW grommet is seated correctly within it's grooves before proceeding with the catches.
Feed through the Cable
Use electrical tape to join the ends together
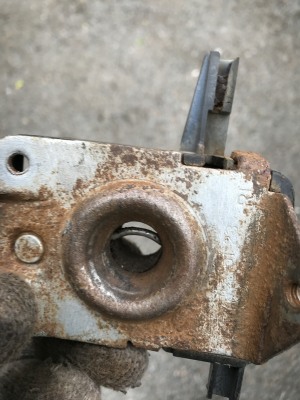
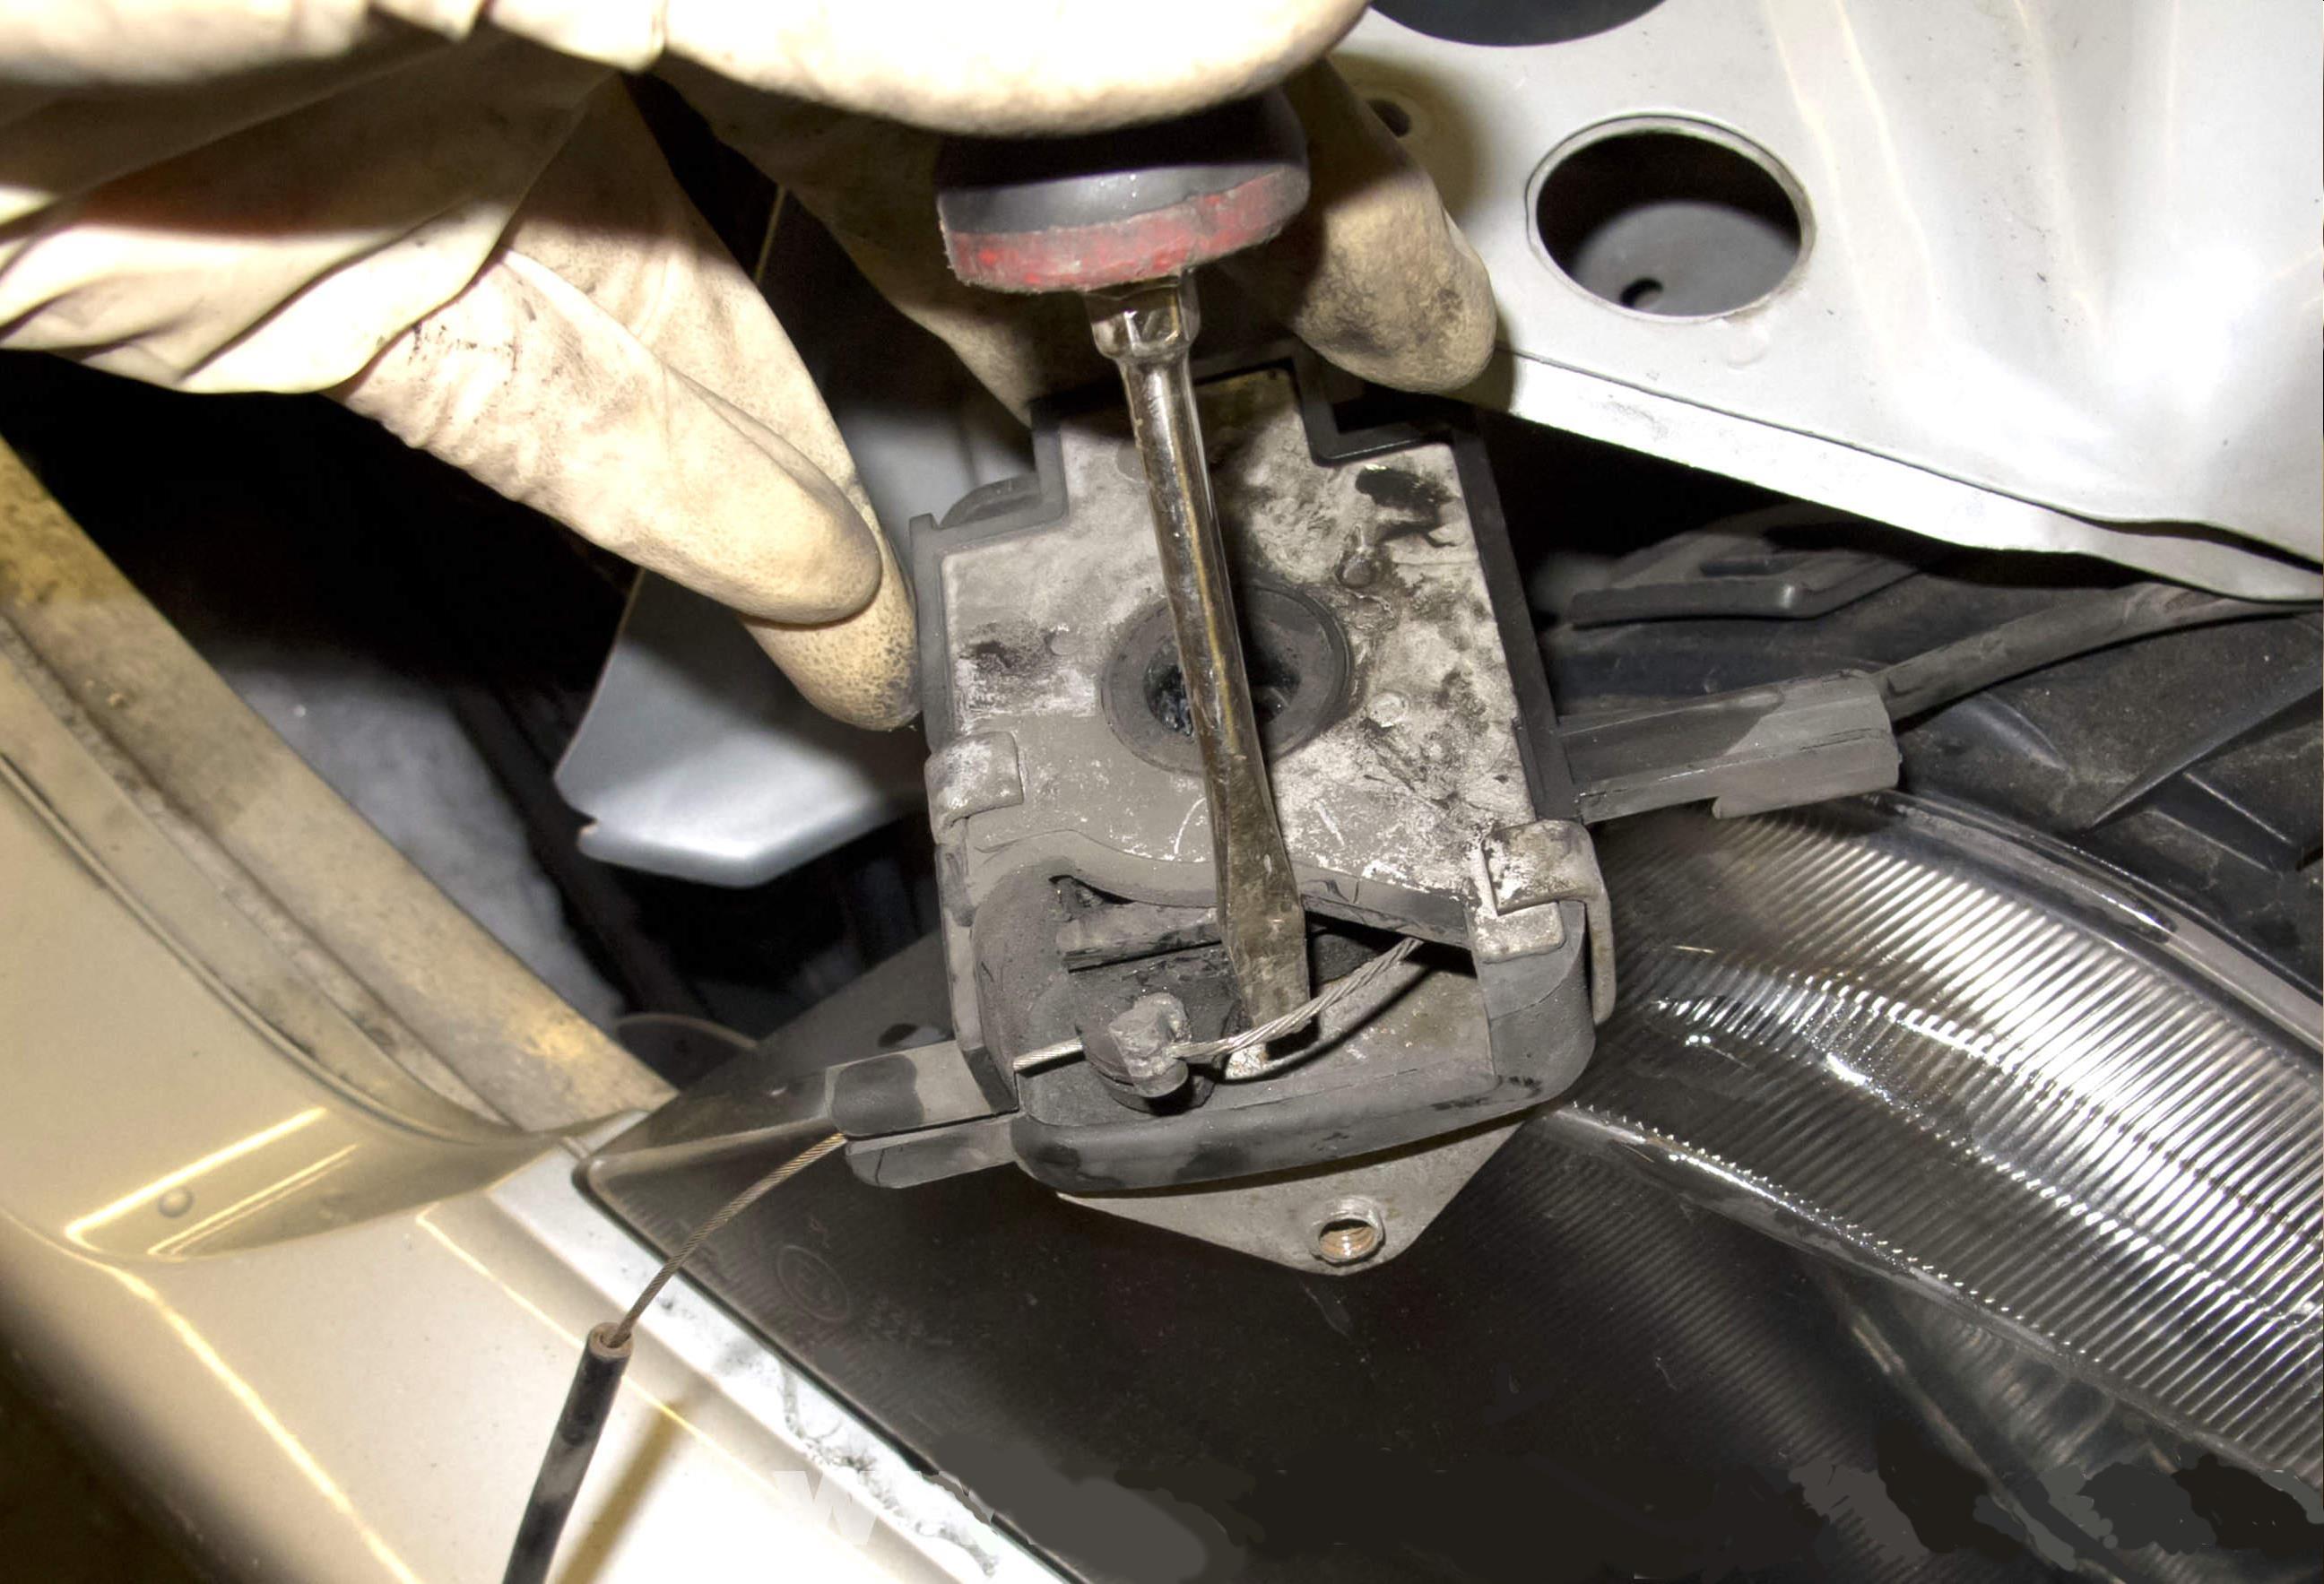
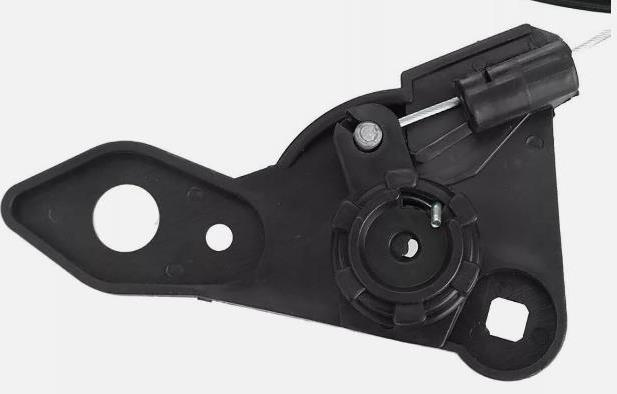
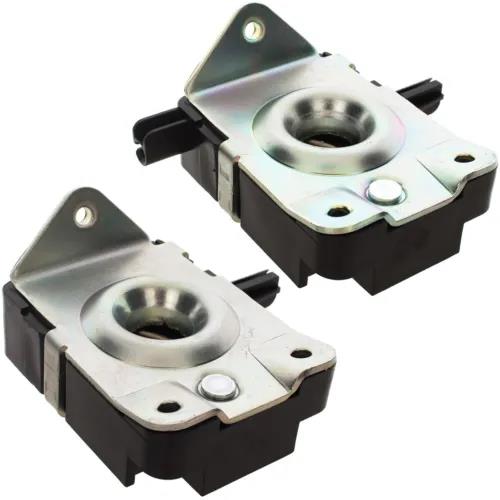
This catch has seen better days however; with a good scrape and clean up with an abrasive wheel and then coated with 'antiseeze' (copper grease, anti-rust solution or equivalent) on all sides, this will revitalise and help free-up the catch. Both catches should be done together and you may want to replace the cable and/or catches if they are too far gone. Hopefully with a good clean, they will last a few more years...
The longest wire leading to the interior of the car should be threaded HERE! Also look for the guide slits.
Anterior View or Top
Posterior View or underneath Bottom
The short ferrel/wire should be threaded HERE! This goes to the second catch. Also look for the guide slits.
Towards interior
To second catch
1
2
3
4
5
6
Actual
Actual
Actual
Actual
Actual
Actual
stock
stock
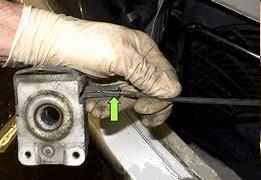
Make sure both cable wires are connected to the catches, then place them in the correct position and bolt them down loosely, this is important. ('hex' bolting)
Ferrel
BMW Dealership £37 Shop around
- Replace the plastic cable back plate within the internal footwell (2x 8mm Screw Bolts - use the originals, where possible).
- Replace the plastic footwell cover and then proceed to screw on the black handle. Replace any removed trim where necessary.
- Return Dash and secure the dash in it's original position. (Be careful of Electrical Wire connections).
- Test the bonnet release, when satisfied they are working correctly, tighten up all catch bolts within the engine compartment. The whole job took around 4-5 hours.
Collect and clean tools and return to their storage point. Dispose of unwanted materials thoughtfully. Job Done!
Bowden Cable
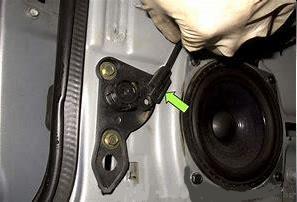
Make sure this spring can move freely, this is what locks the bonnet/hood
This back plate requires a good scrape/clean to allow free movement of the plastic catch
Inner hard plastic catch
Wire Cut this end
New Cable Fished Through
Old Cable
Catch, direction of movement
Stock Image
Stock Image
Same Procedure as a Right Hand Drive Manual/Automatic - But Opposite Side
RHD
Stock Image
Stock Image
Stock Image
Stock Image
Stock Image
Stock Image
Stock Image
LHD
LHD
LHD
Stock Image
Stock Image
LHD
LHD
Back plate come in Black or White & should come with a new cable - No Bolts Use your original bolt/screws
New
Black Handle eBay £15 used can use your original
New Catches eBay around £40 for both Germany However; Shop around China £16 free P&P (2024)
Shorter Cable eBay around £14-£20 KMS Germany (2024)