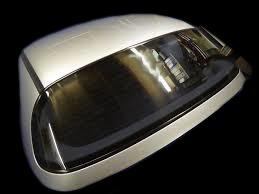
Note: Ordered and on delivery the coming weekend - Images are stock until delivery and work carried out - watch this space
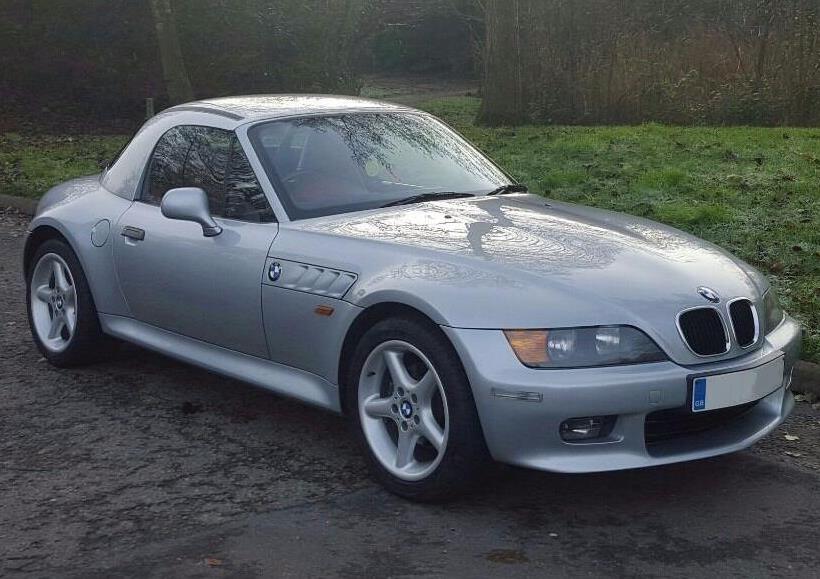
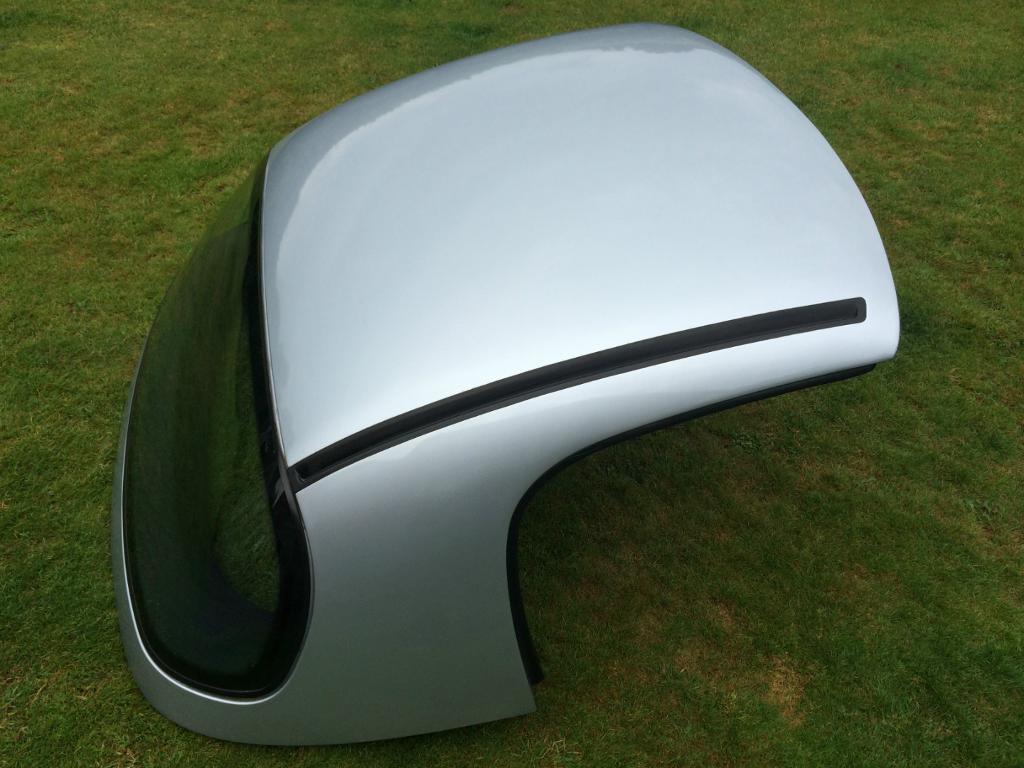
This image portrays the style of hardtop roof ordered
Quote from my diary: A surprising event took place today, (11.02.19) and an opportunity to secure a roof for my Z3. Each week I look down the advertising and noted that the hardtops are coming up for sale, far less. This was the time to purchase one before they have all disappeared. Purchased on eBay with a price reduction of £100 and the total included delivery, initially it was to be delivered via courier, however the owner via a telephone call, suggested he would deliver it himself, this coming weekend... He did suggest he would be driving to me from Bradford in his Z3 with the hardtop attached, mainly down to not having confidence in couriers, (funny that!). He also suggested that he would show me how to dismantle the roof and fittings and would give me a hand to replace it onto my Z3. For that I will need to wait for delivery. My motto is believe it when you see it...
Note: The colour is stock and looks slightly lighter than the Titan Silver , more so a cream. I believe this maybe deliberate by BMW and a design statement, more so as a mix and match combination (clarification needed)...
Rear hard Glass with heated elements
Inside roof lining
Locking lever and bracket
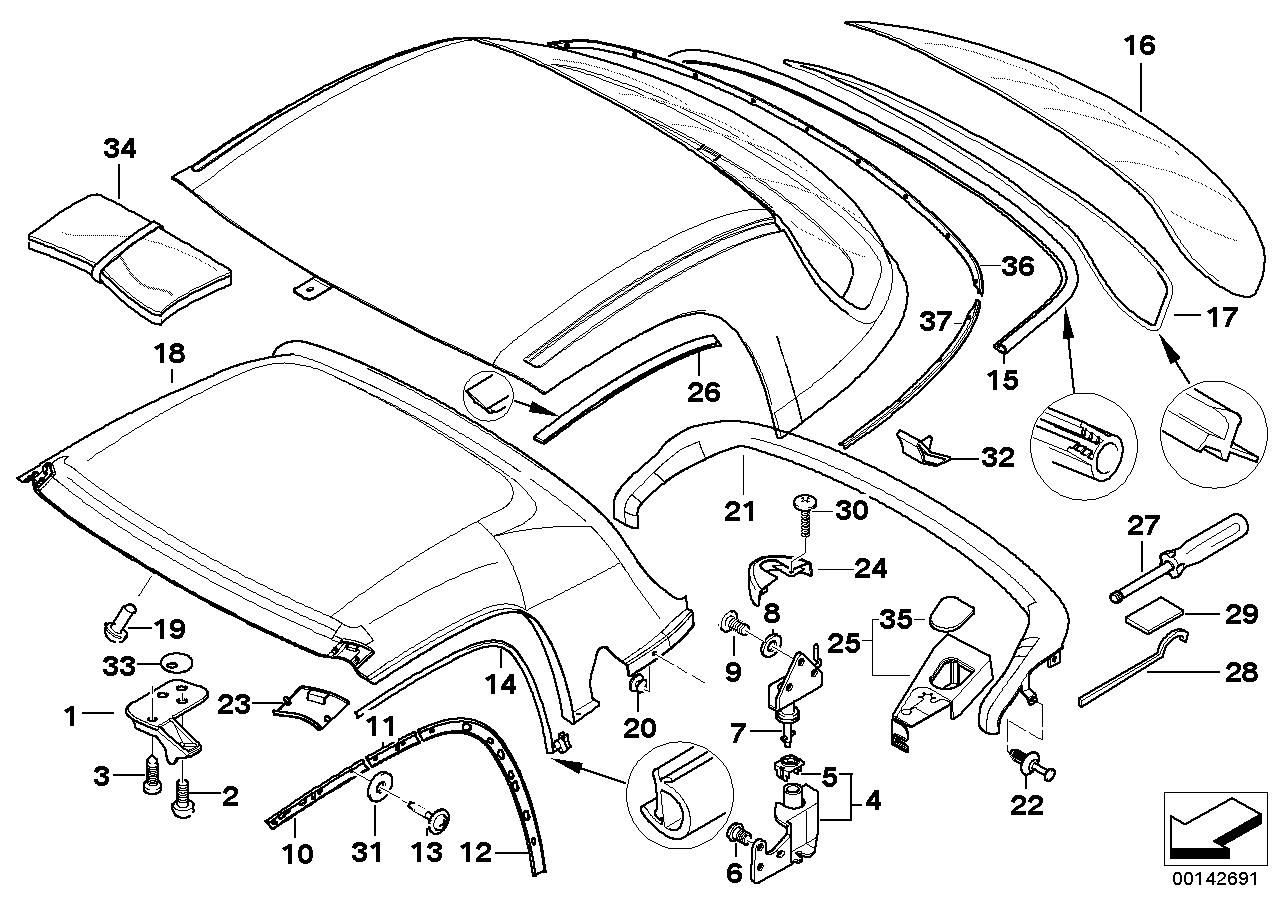
Diagrammatic View of Hardtop
Required brackets/parts
See PDF
More inline with the match of Titan Silver. However, I do like a small contrast if I was totally honest.
Parts Kit Instructions
The Donor
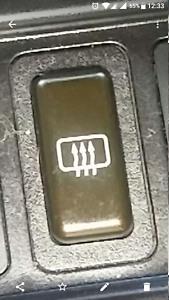
Comes with Key and Heat Windscreen Switch
Just these brackets can cost around £500
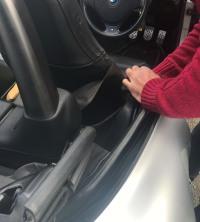
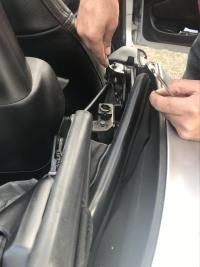
<<< 1. Note: There is padding covering the area where one installs the fittings. This padding can be stubborn in extracting and will need a little force.
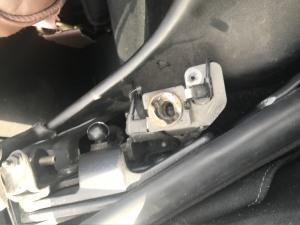
2. The fitting off the donor car requires unbolting. Note the position and where the bolts go.
>>>
3. The lower nuts are awkward to get to and install, it is advisable to have a magnetic rod to reach or to place the nut onto the bolt
4. Two bolt/screws are inserted into the inner hole, on either side of the front of the Z3. Note: these screws should not fall out after insertion.
5. Make sure the roof is lined up correctly for the catches and screws to marry up and tighten >>>
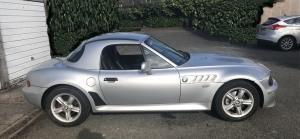
View of hard top from the Front
View of hard top from the N/S
View of hard top from the O/S
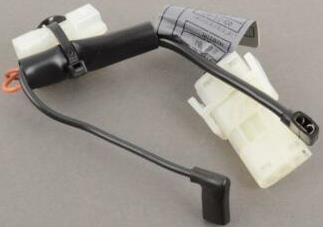
OEM part N0. 61108400220 adapter tubing for hardtop is the small wiring connectors needed for the rear screen demister. One may also need to purchase a relay and inline fuse.
Part Number: 61108400220 / 61 10 8 400 220 / 8400220 Linked vehicles: Z3 E36 (12/1994 - 06/2002) (priced around £23 from BMW (2018)
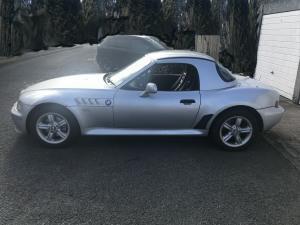
This was the 2.8 automatic donor car that arrived at my place on the 16.02.19 - Looked GREAT, unfortunately close-up, there were some rust spots and it was an automatic with high mileage. I did really like the rear wings, they seemed more announced, a nice touch.
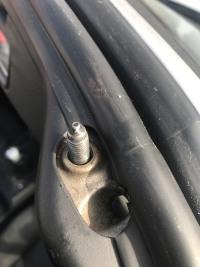
The hardtop should sit 6.4 mm from car to bottom of rear of hardtop as demonstrated (sort of) in the attached photo, but measuring both sides at the rear window, and in mm not inches. If you are not using the mounting gauges I would suggest creating a gap just over 6.4 at both rear points then test on different road surface conditions. If the hardtop rattles, bring the top down to 6.4 at the rear point adjustments and check again. Check also for water leaks at the A-Pillars and back window rubber seals.
This one is off a 2.8 and an older model and should do the job. Still looks good
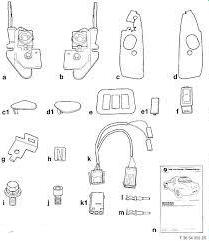
Fitting a Non-Standard switch Adhoc connection.
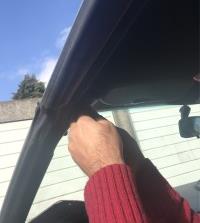
Fittings & Attaching to the Z3
6. Wire connectors for the rear screen demister >>>
Powered by S-AM3l1A
Note: One recommends reading the diary first and then linking to workshop notes to maintain the continuity of the theme...
This was the wrong switch for the wiring loom, on my Z3 - this one came with my hardtop.
When the seller was helping in the fitting of the brackets and roof, he didn't include the wiring adapter, even though he didn't need it, as the hardtop was now on my Z3. After researching this part a little later I did conclude that this was as important, and should have been part of the package, for at least to get the demister to work. Further reading also suggests that the manufacturers have strategically placed the adapter within the trim, a switch may also be found taped to the inner console or near the soft top switches are located for when the owner wishes to attach a hard top, so worth investigating. Priced as a separate purchase, it can fetch from £12 to around £28...the latter being on eBay. Switches can also vary from £15 to £20. (without checking BMW parts dept.). The seller was in my opinion hoping I would forget the switch and the T star tool, however I did make a point it was part of the price, otherwise these items would have been an additional costs on top of the extortionate prices the hardtops are fetching today. It is on and the job is a good one.
This switch is the correct one for the 2002 model and was, due to it's cost. 'reluctantly' purchased early 2020
Note: Earlier prices quoted were reasonable before 2018. Prices for original switches have become eye-wateringly expensive. (2020)
Priced around £500 off eBay
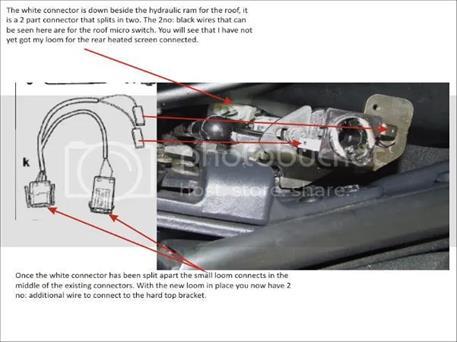
Connections from K-Loom for heated rear screen
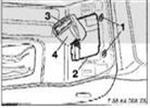
Rear Fixing for trim
Hyraulic ram for roof
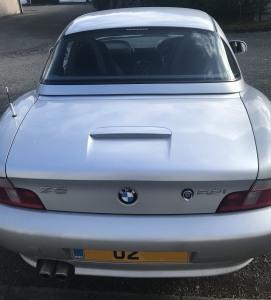
View of the hard top from the rear
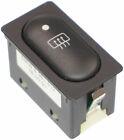
Early Z3 Models Demister Switches
The following switch is the correct one for my 2002 Z3 model
Rear connection point is much smaller
FULL Hardtop Installation
Note: Demister switches are very difficult to come by nowadays, unless it comes with the hardtop, one can pay around the £65 (2018), £124, (2019) £152 (2020) for a legitimate demister switch; if you don't have one. (someone is making a 'killing' when it comes to exploiting the likes of you and I), however there are switches available, some are from previous Z3s based on the varied models and year, so shop around. One would suggest in splicing into the existing switch wiring loom, if there is a switch loom installed, if there are no other options available and one has the wrong switch. (some models have the loom pre-installed and hidden away within the interior, (some have a switch included) check before purchasing any kits, try not to cut off existing connectors; even if they do not match or fit the switch. Splice into existing loom and connect a further connector without cutting off the old connector(s).
You should have three wires in the car as follows (these wires would have been in the bottom connector): - Black (2.5mm) Brown (2.5mm) Brown/orange (0.5mm) The black cable is your switched 12vdc for the rear heated screen, this goes to one of the spade terminals on the Hardtop bracket.
The brown cable is your earth for both the rear heated screen and the roof microswitch, this goes to both the microswitch and the other spade terminal on the hardtop bracket.
The brown/orange is the return wire for the roof microswitch. This goes to the other microswitch cable.