Description 12V Car Cigarette Lighter Brand New, Sealed in Box With Socket / Terminal Illuminated Socket Fits most cars as direct lighter replacement Recommended usage: replace both lighter and terminal Fits all cars with hole's diameter 28-29 mm Gives outlet for 12V power Built-in heat resistant ceramic protector Automatically 'Pops out' when ready Illuminated ring for wiring to the lighting circuit Illumination makes easy viewing in the night Ideal for powering your sat nav, charging your phone etc
This Car Cigarette Lighter is supplied as a complete unit. It can be used as a replacement for an existing unit. The Bezel on the front of the lighter Illuminates when the vehicles lights are in use. The socket should be mounted in a 28 - 29mm diameter hole. It can also be mounted where a blank hole is located or using a hole in any suitable position on the dashboard.
BMW Z3
Workshop
CLASSIC BMW Cigarette/Utility Socket
A fairly straight forward fix
When you have bought a BMW you think you know how to assemble and dissemble, nah, there is always something different. I looked high and low, took out screws thinking that it would release something but doesn't.
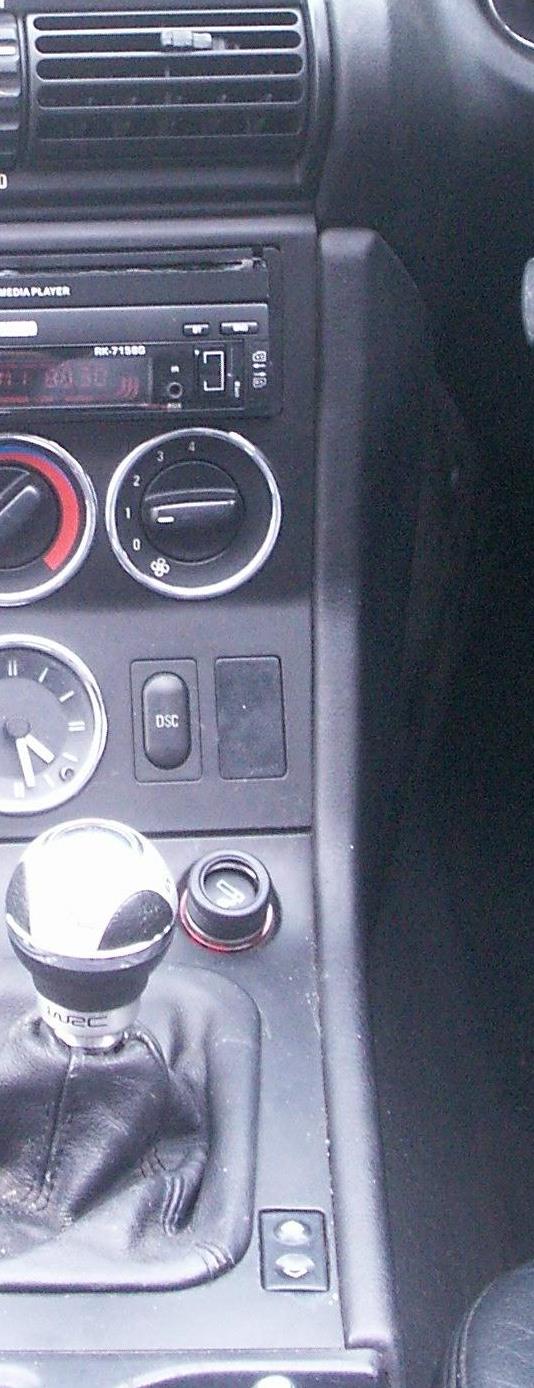
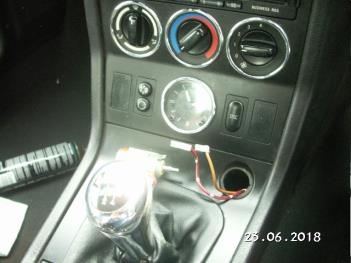
In my case, to replace the cigarette lighter socket one needs to take the gear lever/knob off it's stalk and then the gaiter and moulded filler sponge. Once that is done, one should be able to put their small 'dainty' hand towards the lighter aperture. (Fitters and mechanics with dainty hands....?) Note - the colour coding of the wires being disconnected and where they are connected on the lighter unit terminal. (important - make a note of it).
New Cigarette Lighter SOCKET fit BMW E28 E30 E36 E38 E86 Z3 eBay: £2.51 Postage £1.99 (Eu imports?) Seller information bg_service77
Installation
1.
2.
3.
4.
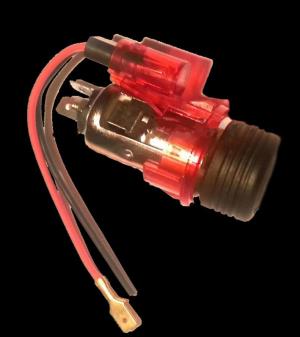
Prise off, in this case the red plastic collar housing the bulb no.3 & 4 from the body or element no.2 (the red collar should slide off the bottom towards the element terminals - note the lugs on the plastic are fragile and there is a risk of breaking them off. You may need a small screwdriver or something with a narrow pointed blade to lift these, as they grip the element body. This needs to come off so the body element no. 2 can be inserted into the hole. The red bulb housing can be returned from under the hole, helping to secure the lighter element. The red collar can be returned in the same way it came off.
The internal wires can then be connected to the correct terminals. Check your notes or wiring diagram if in any doubt. Tip: Even though the lighter is fused at the main fuse box, it may be advisable to place another inline fuse with a lower rated fuse to help protect expensive personal accessories.
OK! All but for an ideal world, nothing is straight forward!
07.07.18 Another attempt of fitting, also to getting the cigarette lighter to work, I have now installed the new fitting with an inline fuse, never straight forward as the red light housing is as useless as they come and they only have to fit in a hole, some of the plastic bezel needed to be cut to allow the bezel to fit the hole, wrong size connector on the positive terminal, at least the bulb works. With correct wires connected to the element and fed through the hole - nothing! Fuses checked and are OK! - job remains pending....
18.07.18 During the installation of the speakers, I decided to also try to fix the lighter unit that seemed to be causing problems for me. It didn't seem to like the inline bayonet fuse and I ended up ditching it, knowing there was also a lower rated fuse at the main fuse box under the bonnet. The new unit was not working. I decided to have another look at the old lighter unit and I gave it a good clean. With the new red collar already installed, I reinstalled the old element section. Low and behold it worked. As the plastic lugs that clinged to the element were cut during the initial trial and error fitting of the light housing collar. (These lugs were also for securing the lighter to the console). Fortunately there are metal flaps that can be manipulated, I then proceeded to bend the internal metal flaps to stop the element cylinder from moving freely, they also gripped the console.
The lighter was reinserted and the relevant heat was generated and it popped. The retaining flaps held the main element securely and the hot element could be pulled out safely. Not that it will be used for cigarettes, however I do like the idea of being able to generate heat/fire if I should ever need it. (old school) It is also useful for electronic accessories. Another job crossed off the list.
The lighter itself has been changed back to the original no image of a cigarette on it and the gear knob and gaiter has also been re-installed since this image was taken.