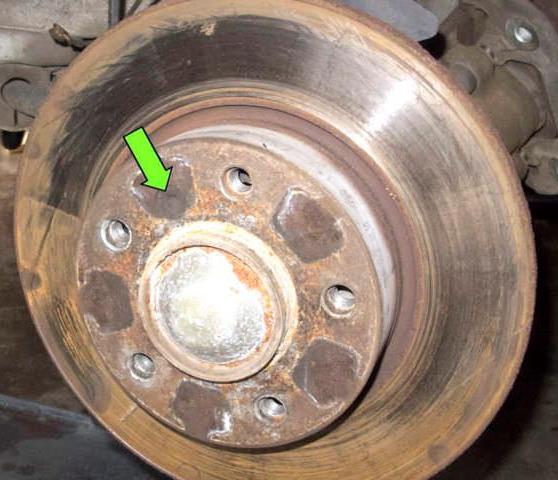
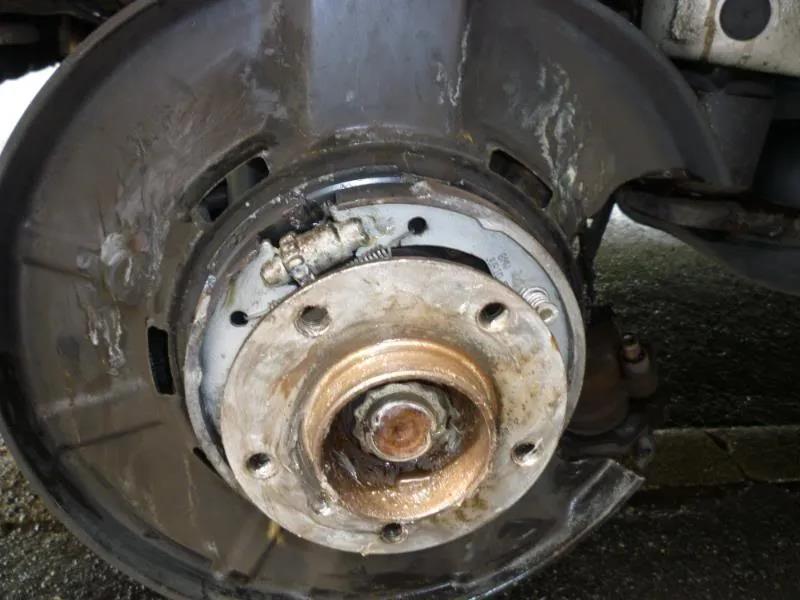
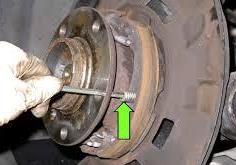
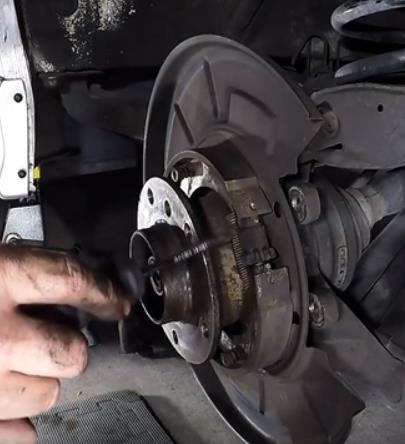
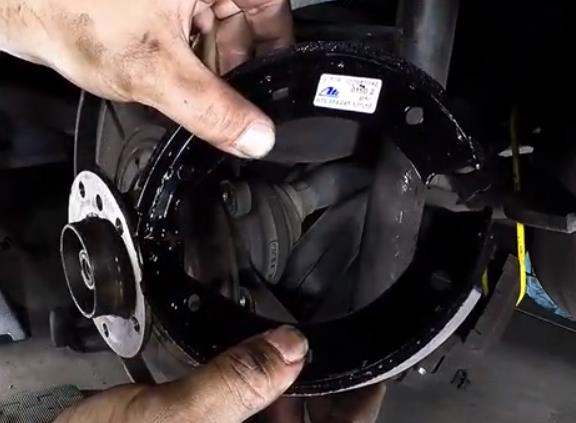
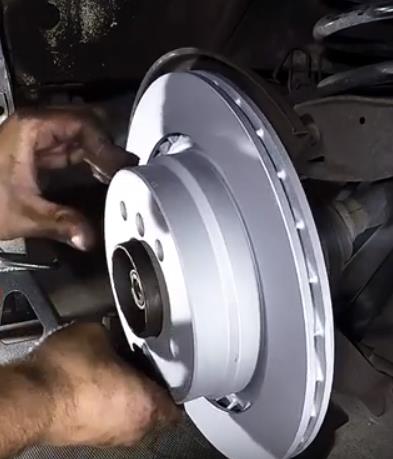
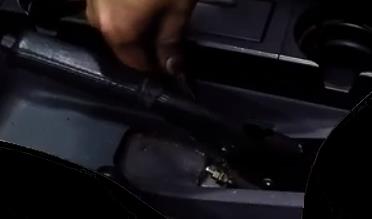
Using a 6mm Allen bit, remove brake rotor mounting fastener or Hex screw/bolt. (green arrow) Then remove brake rotor from hub. The rotor might be stuck; so be prepared to give it a few taps with a Rubber/Wood/Plastic mallet.
In my case, on the front hub, the hex screw was stuck solid. One can use a penetrating oil such as WD40, failing that the following methods may help in extracting the Hex bolt:
1. Use the correct Hex Key and clean out the Hex bolt head of debris. 2. One can Drill them out 3. Chisel them out, (with hammer and cold chisel, I prefer this method) 4. Use an impact driver (Electric, air, or manual) 5. Use a spring centre punch 6. Replace the wheel hub totally, (not really necessary, very extreme)
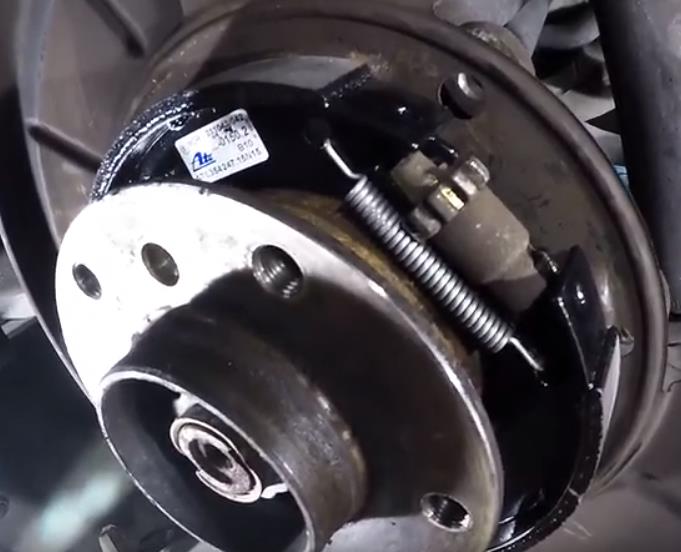
Some cars, like the Z3 have two sets of brakes at the rear, pads and shoes.
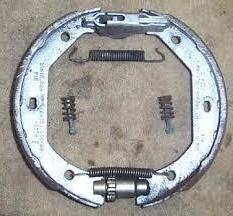
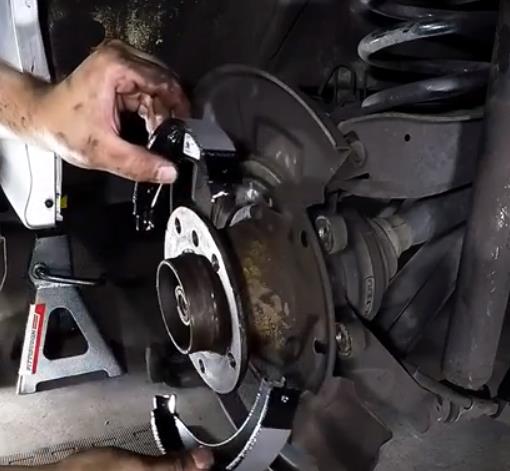
Once the Top Hat Rotor is removed and one is not too familiar with procedure with changing brake shoes, take a photo snapshot of the layout of the springs, clasps and adjusters as a point of reference, mainly to remind you how it all goes back together.
Another way of remembering the positioning of parts; is to lay the parts out on the floor as you disconnect them piece by piece.
BMW Z3
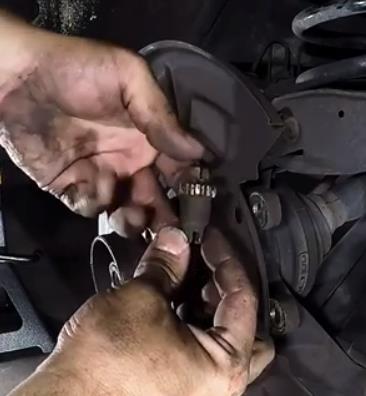
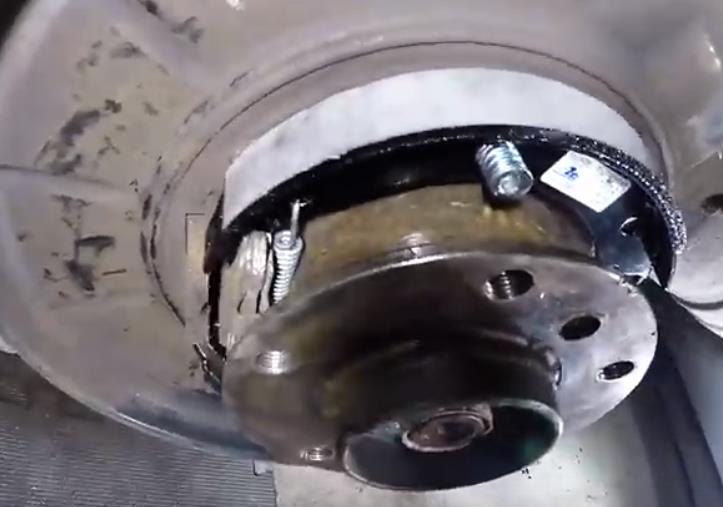
Use small screwdriver or long nose pliers disconnect both pad springs 1/4 turn either side - push and twist
Note: Check the direction of the adjusters and springs as they may differ on each hub.
If you are replacing the rear rotors make sure the parking brake is off before trying to remove them. I normally leave the handbrake lever on 3 clicks and do my main adjustment at the hub initially. Use chocks on the wheel(s) to prevent the vehicle rolling and also place the vehicle into an appropriate gear, as a further preventative measure.
Take off top spring
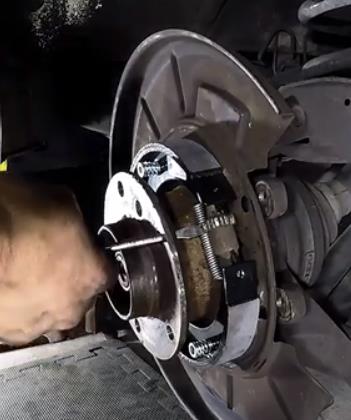
With top spring and side springs off, the brake shoes can now be prised opened to each side, allowing them to be lifted away from the centre hub. Once clear, there will better access to the lower spring and this can also be prised apart or disconnected.
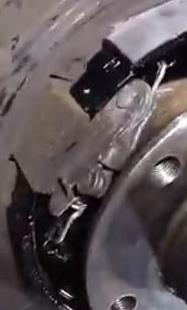
With the adjuster disconnected, make sure it is clean and lubricated with grease inside on the thread. Wind the thread to where it is touching the two halves as shown in image
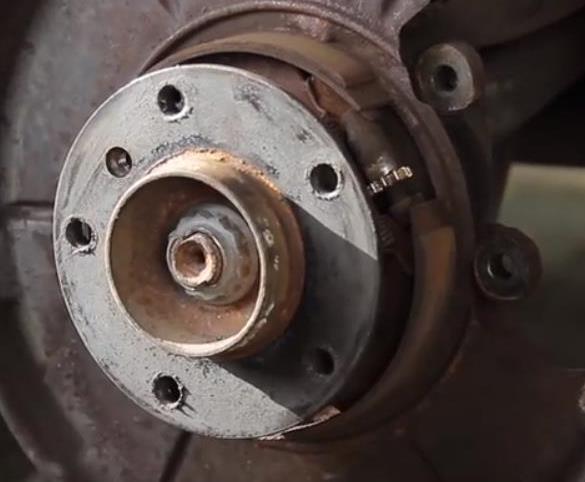
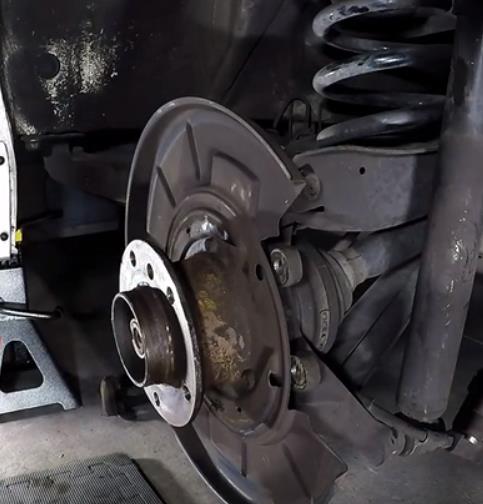
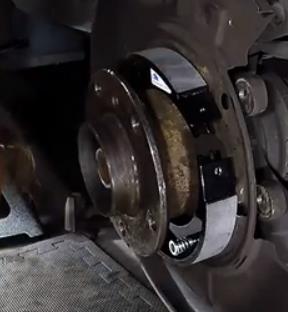
Clean all surfaces and remove, brake dust and rust off backplate and hub. Use a brake clean spray. Remember to use a mask over nose and mouth and eye protection.
At this point of the job, it is an ideal opportunity, (while the wheel and hub is stripped down) to be attentive to all aspects of the suspension system, check all around for any possible defects and to take note for potential work that may need to be carried out to correct any potential problems.
- Rectify as soon as possible
Note: Safety is Paramount.
10. Now to fit the new shoes, making sure the wider part is towards the top and the narrow width is at the bottom.
TOP
BOTTOM
.
Attach small caliper connecting to hand brake cable to brake shoes. Also attach the lower spring to its anchor points.
Do the same on the TOP, insert the adjuster screw, (making sure it points in the correct direction) Also attach the top spring
Make sure the small caliper is on the bottom and the adjuster screw on the top and are facing the correct direction. (Look at your photos or diagrams). A flatblade screwdriver may be easier to complete this task or needle nose pliers.
Make adjustments, to expand the shoes outwards, by clicking just a few turns by turning the cog using a screwdriver.
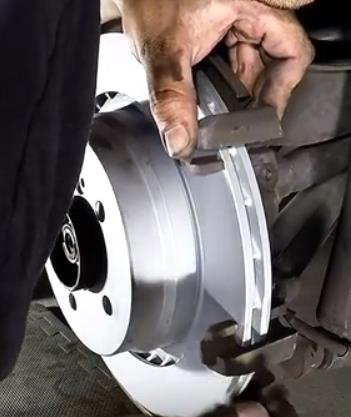
Replace the Rotor onto the hub and rotate - keep adjusting the cog until the brake shoes make contact with the inside of the rotor drum, and prevents it moving.
Reinstall Brake pad carrier, double check the carrier bolts are in correctly and the bolts are tight to torque specs. Check!
Compress brake piston and then reinstall Pads and Caliper
Reinsert slide bolts and tighten, making sure they are in to their full extent. It is common for these bolts not to go in correctly, giving an impression of being in and secure - Double check. Replace dust caps.
Reinstall chatter or spring clip
Reinstall or fit new brake sensor (if applicable)
Follow the same procedure to replace the brake pads on the other rear axel, if haven't already.
Check the handbrake remembering it is on three clicks. When taking off the handbrake the wheels should revolve freely. Final adjustments can be made by adjusting the two nuts under the handbrake gaiter.
example
Make sure it is on at least 3-4 clicks before tightening nuts - keep checking the revolutions of the Right wheel until it will not move. this will require the handbrake to be placed on or off, move onto the Left side and do the same. Once satisfied, check handbrake and then replace the gaiter when finished.
1.
2.
3.
4.
5.
6.
7.
8.
9.
10.
12.
13.
14.
15.
16.
17.
18.
19.
20.
21.
22.
JOB DONE!
Let the handbrake off and then on a number of times for the adjustment to settle. If wheels are not already on the vehicle, proceed to put them back onto the vehicle. Make sure the vehicle does not move when handbrake is fully on. If it does, then the brakes will require readjustment and wheels will need to be taken off to be adjusted effectively. Also top up brake fluid 'Reservoir' if necessary, with brake fluid, (DOT 4) and replace the cap firmly when adjustments have been completed.
Drive carefully and brake carefully for a few days following maintenance work on the braking system, allowing time for the brakes to 'bed in' and any other problem to surface. Brake pad Sensor light, (amber) seen on the dash should go out if it was constantly illuminated before the maintenance, however the duration for this to come into effect, may vary from immediately, to 10 miles to 100 miles. Failing that, check the sensor or replace it. (Make sure the metal strip is attached onto the sensor bulb that has been correctly inserted into the pad, it is a common problem for these contacts to spring out during fitting and become lost.
Handbrake light, (red - on dash) should also come on and go off when the handbrake is on or off. If there is a problem with this sequence, check the switch on or next to your handbrake lever under the gaiter at the back of the handbrake. The switch is sometimes twisted out of place by inserting the gaiter, misaligning or breaking the switch contacts, causing the dash light not to work properly, failing that one will need to investigate the problem.
Requirement for UK MOT
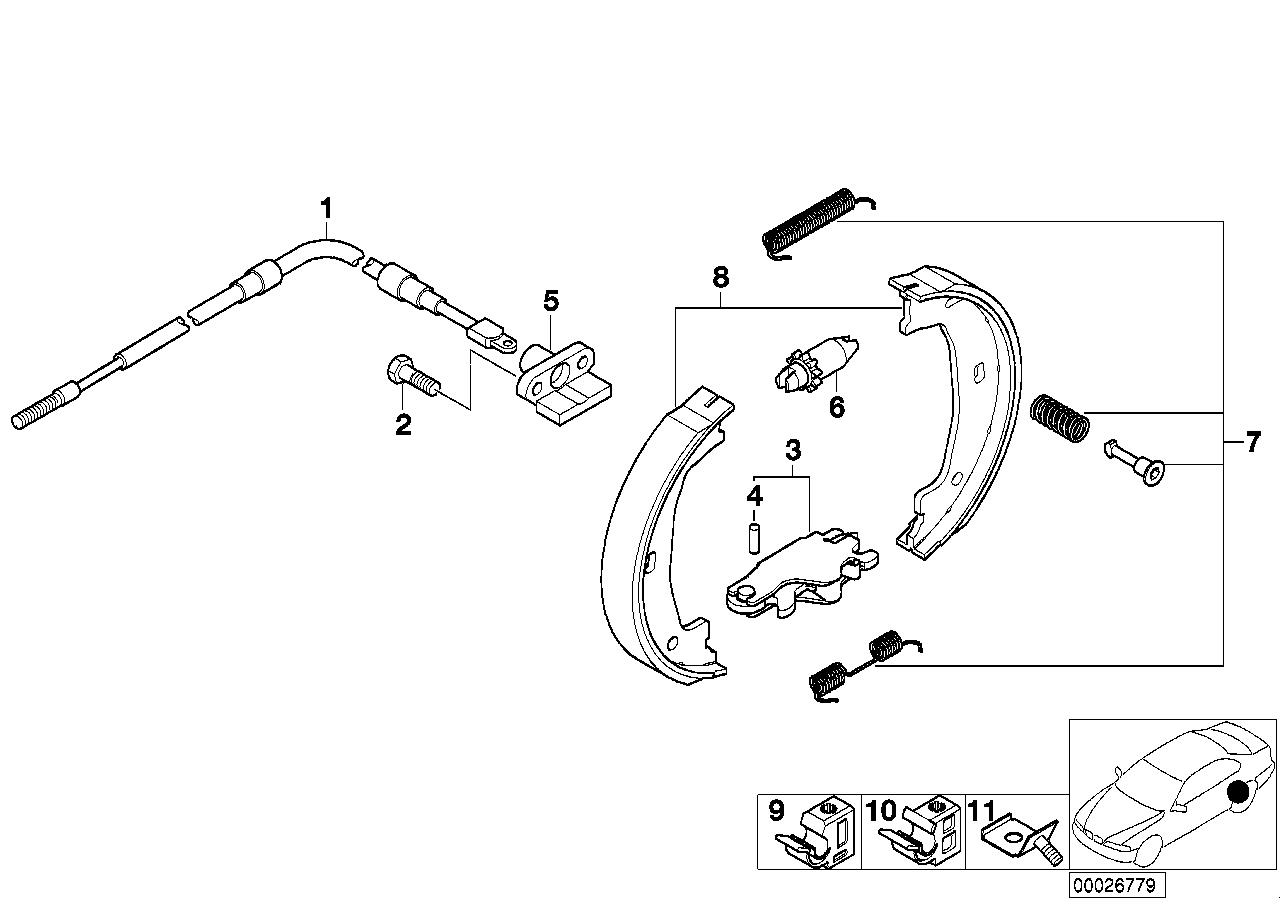
A typical layout
some layouts may vary based on a particular car model
REFITTING
>>>
>>>
11. (The springs being attached can help) Use retainers springs to hold the shoes in place, initially both sides
>>>
>>>
Powered by S-AM3l1A
Note: One recommends reading the diary first and then linking to workshop notes to maintain the continuity of the theme...