Diary of a Second Hand 15 year old Beamer (Maintenance - Battery Drain included..., BMW E39 520i year 2000 Engine 1995cc) M Series.
Workshop/Diary - Door Card & Checking Electrics
12th May 2015 -
Another nice day and I decided to see if I could find the problem with Fuse 4 - (Interior Lighting and Front Windowscreen Washer system).
fig.
B
fig.
Continued....
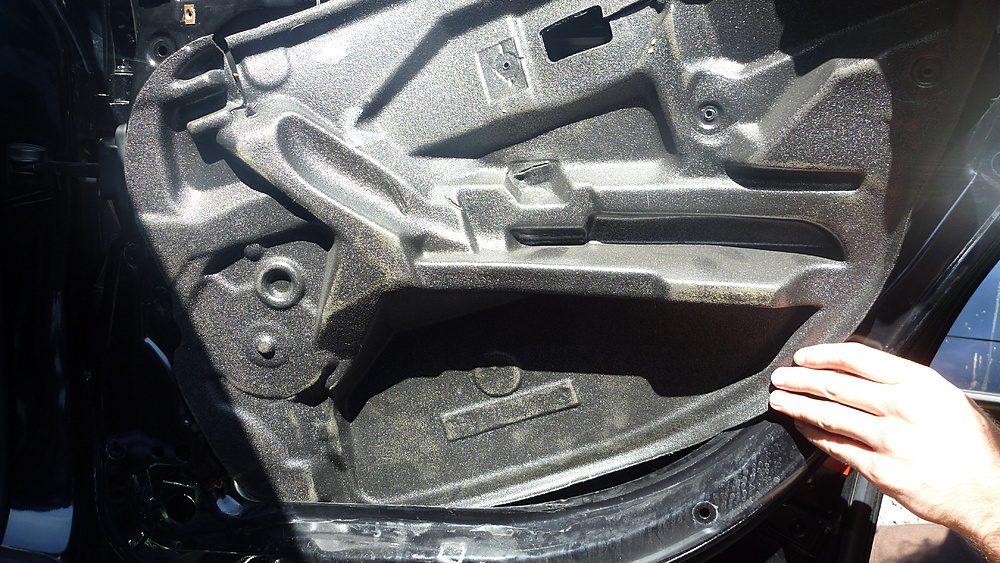
The exposed screw can now be unscrewed and taken out, to be placed in a safe place, the lever cluster can be manipulated through the card and the card can now be lifted up and pulled away from the door, Note: the push down locking mechanism, and clips, lift the card clear of them, trying not to bend the wire or knocking it out of position.
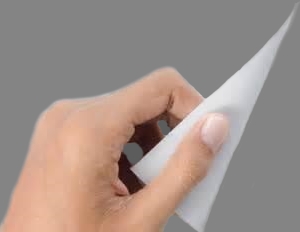
Most modern cars now have an inner ‘Gasket Seal', that fits in the inner door, this helps with weather proofing as well as sound proofing. (Early cars just had a polythene sheet stuck to the inner door with tape; if you were lucky! This helped to keep the carpets dry inside the vehicle and to keep water out). The 'Gasket Seal,' in my case was stuck to the inner door with a tar like substance, most likely Silicon. (Note: this can be re-used to stick the 'gasket seal' back when the appropriate tasks has been completed). Again, the open/close lever, needs to be pushed through the 'Gasket Seal' as well as any wires and connectors, before pulling the 'Gasket Seal' away from the door.The wiring was checked for breaks and splits in the insulation and re-taped up with insulation tape to make certain the wiring was protected from possibilities of 'shorting', contributing to battery drain.
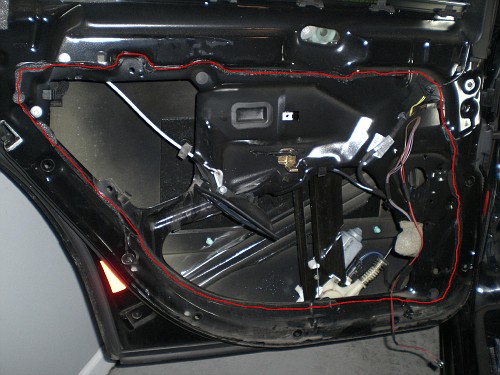
I also found the wiring had been routed incorrectly causing the play in the wire to be on the short side. By re-routing the wire, allowed me more play in the wire and less chance of it being pulled or stretched too much to connect the courtesy light during bulb maintenance. I was satisfied this door was ok, checked the feed into the door and was satisfied that this was also ok. This left me with the task of reassembling the door and during this exercise, I fed the courtesy light connector through a minute or very small hole in the 'Gasket Seal,' allowing for even more play in the wire. The door has been reassembled in reverse order; eventually lining up the press studs before pushing them into the holes, (this prevented the studs from being smashed against the inner door and having to purchase new ones). This just leaves a further three doors to check.
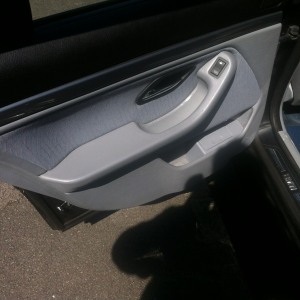
I started with the nearside rear door as I had noticed the wiring to the courtesy light seemed very short as if someone had 'worked with it', at some time having to shorten it. Taking off the card can be a little awkward if not familiar with it's layout. My approach was to take off the silver plastic trim just above the door lever, for opening and closing the door, and to unclip the sides by popping out the press studs, (keeping them attached to the card) at the bottom and the both sides to the door. There is one screw holding the card in place and that is hidden behind a plastic grommet at the back of the plastic cowling containing the open/close lever. The grommet can be prized off with a very small flat bladed screwdriver. The widow buttons on the passenger arm rest and the courtesy light situated on the
fig.
Workshop
61
bottom of the door card can also be prised off and wired plugs be disconnected.