1. The Aim of this job is to get to check and change the drive belts to the fan, (or alternator belt) and A/C, (Air conditioning unit) belt. 2. To change the belts with very little disruption to other components inside the engine compartment. (sometimes it is easier said than done)! However; on the Z3 2.2i 2002 models it is reasonably straight forward.
We do need to get access to the belt tension pully springs to loosen the belts for removal, the best way to proceed is to carry out the following procedures:
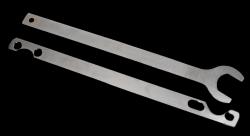
1. Remove the fan. If it is the old manual fan, one will need the fan removal tools, such as a 32mm open-ended spanner and a fan retainer (very much like an extended narrow flat rod with holes to fit the fan bolts into, preventing the fan from rotating during the loosening of the fan nut).
Click image for purchase details for the BMW Z3 - 2.2i
In my case; the Z3 2.2i was not as straight forward and rarely is normal for me.... The first set of tools and procedure didn't work, the fan just kept on rotating and most probably the nut was double threaded. I later found out another method to use when dealing with a clutch type fan or when having difficulty in removing a fan to change the belts: The second (2.) option of tools were required:
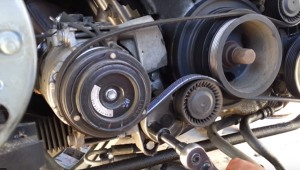
If not familiar with the Serpentine belt or A/C belt configuration or layout on the pullies, one suggests you take a photo via your mobile phone camera. Note: The two belt configuration on the above image, is typical of the BMW layout. The tensioners have bolt anchors to attach a socket wrench, once the wrench is attached, the wrench acts as a lever, pushed in an appropriate direction, takes the tension off the belt and the tension is placed back on the belt when the wrench is at rest, when the new belt has been fitted. Again, the belt is taken off, when the lever is pushed in a direction, one needs to be maintaining the pressure; at the same time, (this may require some effort and an extended or long handled wrench). The belt can then be removed, off at least one of the pullies initially, (suggest the lowest right - if working on the Serpentine belt - the A/C is fairly straight forward, any of the larger pullies will do). The wrench can be relaxed and the belt can then be fully removed off the other pullies. The process is the same for both A/C and the Serpentine via different tensioner bolts.
Remove the A/C Belt first as it is in front of the serpentine belt and then the access will be available to remove the serpentine belt 2nd. To replace the belts is in reverse. One places the new serpentine belt on first and then a new A/C belt second, only if required on the result of your inspection of wear. If there are many cracks in the belt per inch, this is a good indication your belt needs changing. (See the images above).
Tensioner
2nd Tensioner
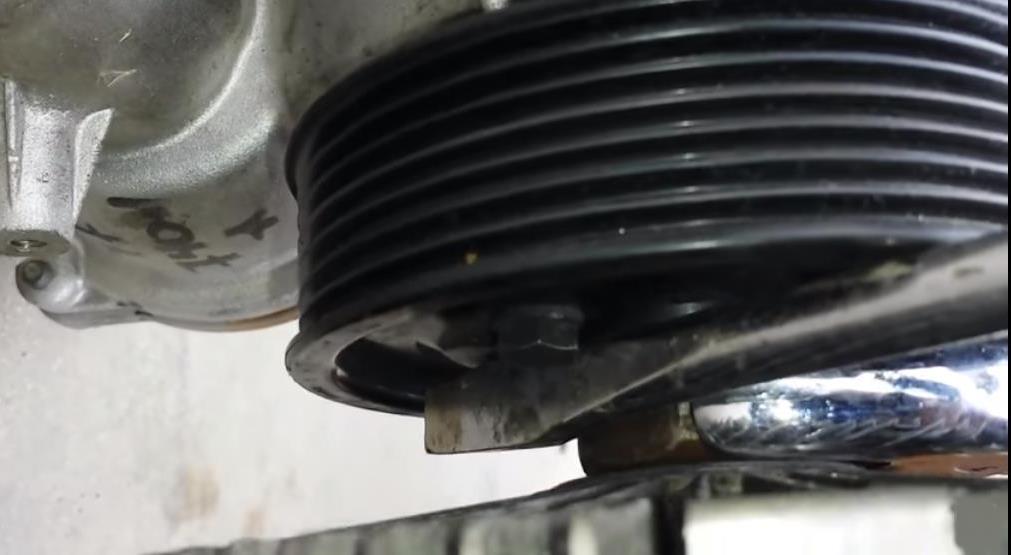
1st Belt - Taken off
The Nut on the fan normally has a reversed thread, this means the nut will only be loosened and taken off when turned in the opposite direction to the normal method of taking off nuts. i.e loosened anti-clockwise. This thread is required to be loosened 'clockwise'.
Manual type tools - 1 (normally the fan does not have a clutch) A system used on most cars...
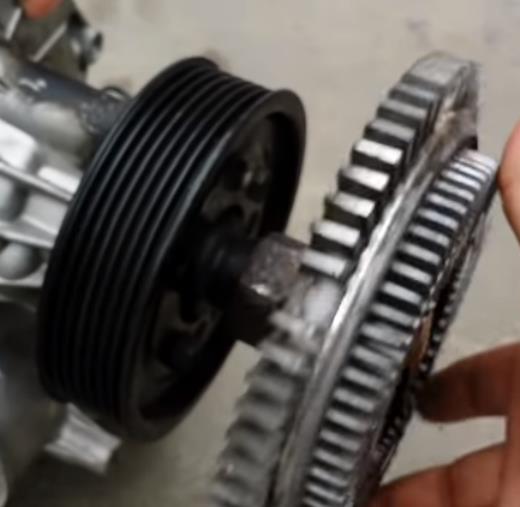
Fan Removal Methods or Options: 1. option 1 - the fan clutch can be unbolted (above images) and removed without detaching the fan from the clutch plate via loosening the main bolt on the Water Pully. 2. option 2 - the fan can be unbolted from the clutch, (above images) and then the fan can then be removed. It also allows access to both belt tension pullies.
2 - Revised tools for the 2.2i
The fan I had, was fitted to an inner grey plate, this is known as a clutch, this was what the fan was attached to with four small 8-10mm Allan Key bolts or screws, accessed via the front of the fan. These needed to be unbolted, leaving the clutch attached to the pully. This is the quickest way of allowing access to the tensioners and to change the belts.
If one is required to do other work and further access to the front of the engine is required, the whole fan unit may need to come off.
With the revised tools, quarter inch open ended spanner and a flat bladed screwdriver, the pully needs to be trapped or refrained from moving, by using the screwdriver; at the same time, turning the spanner in the clockwise direction. Note 1: Use WD40 and allow it to do its work before commencing. Note 2: The bolt has a long thread, once the thread is broken, keep on turning the nut until the propeller falls into your hand, (try not to drop it, as damage may be caused to the fins on the plastic propeller).
Using either method, one has full or limited access to the front of the engine depending on the option you choose.
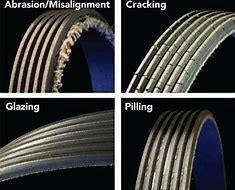
CONDITION OF BELTS
Check your belts for these tell-tale signs of belt wear. If your belt is showing any of these signs, then they will require replacing with new belts:
<<<A/C Belt Or Air Conditioning Belt
Serpentine Belt/Fan Belt Alternator Belt, or Universal Belt
AC or Air Conditioning Belt
Serpentine or Universal Belt
Some of the labels used to describe this belt:
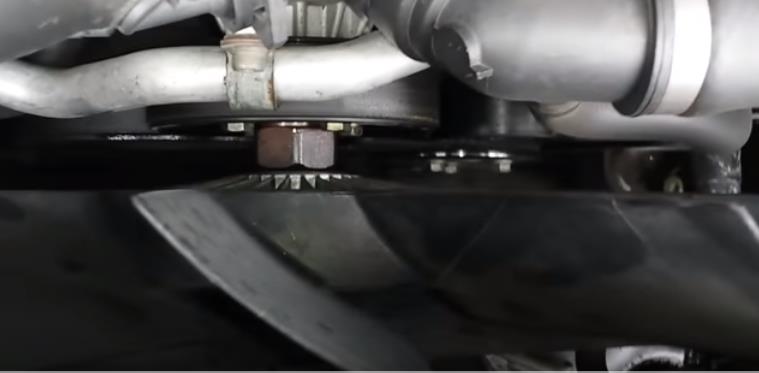
1st Tensioner
If only the A/C belt needs changing, access can also be available from underneath the vehicle. Plastic trays may need to be removed.
2nd Belt -Taken off
Once belts have been replaced other items dismantled can be refitted in reverse order. On completion check ALL components are fitted correctly and if appropriate are tight to the required torque.
Full Overview of Both Belt Sets
Fan removed off the Clutch plate
Looking from above the propeller attached to the clutch and bolt/nut
A/C Belt or (Air Conditioning Unit Belt)
1st Belt - Taken off
1
2
Belt Replaced 30.8.19
A/C belt was not replaced as it was in near enough new condition
Stock Images
Stock Images
Stock Images
Stock Images
Stock Images
Stock Images
Stock Images
Stock Images
Stock Images
Stock Images
Stock Images
Stock Images
Tensioner
Powered by S-AM3l1A
<20>
Note: One recommends reading the diary first and then linking to workshop notes to maintain the continuity of the theme...